Content .. 1588 1589 1590 1591 ..
Jeep Grand Cherokee WK. Manual - part 1590
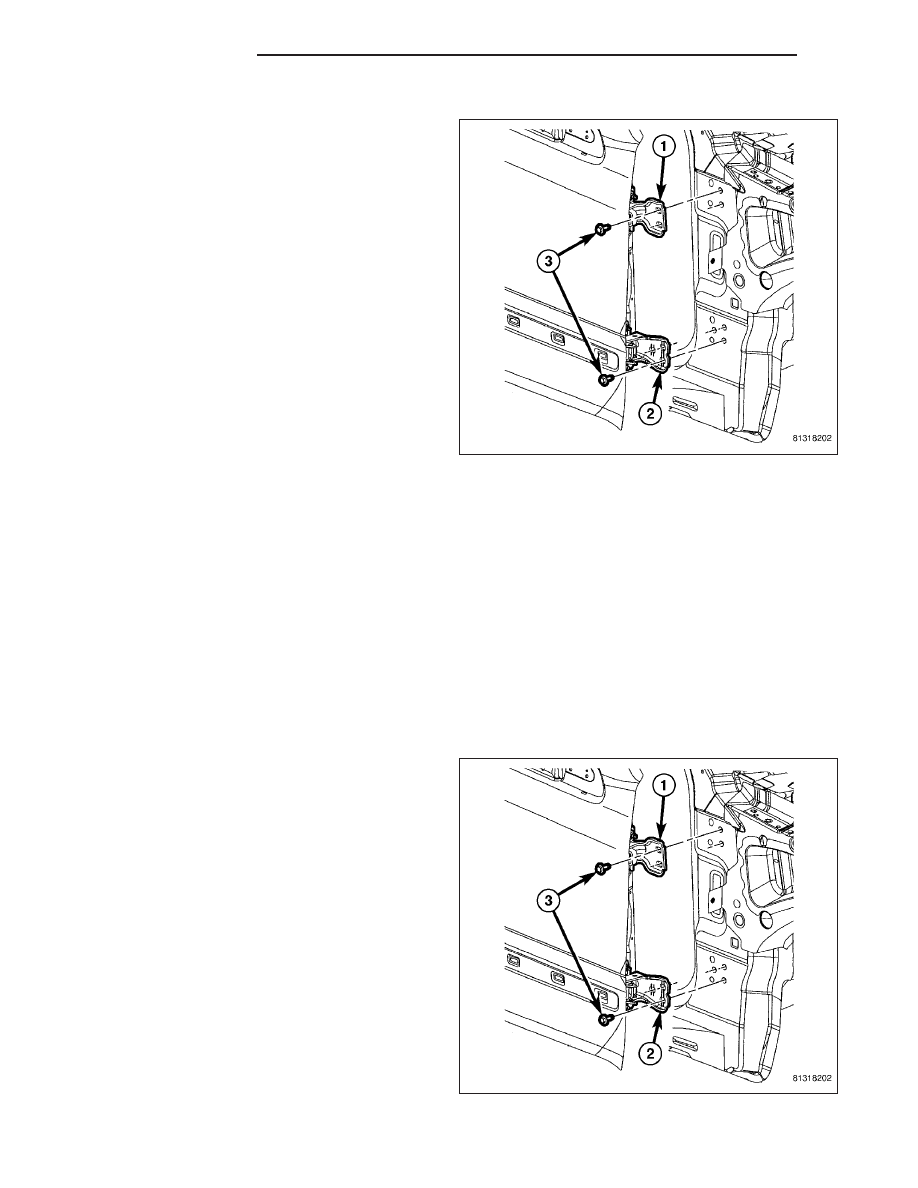
INSTALLATION
1. If removed, install the front door hinges (1 and 2)
onto the door (Refer to 23 - BODY/DOOR -
FRONT/HINGE - INSTALLATION).
2. Carefully position the door to the body and support
the door with a suitable lifting device.
3. Loosely install the four bolts (3) that secure the
front door hinges to the A-pillar.
4. Align the door to the body using the reference
marks made during the removal procedure and
tighten the bolts to 28 N·m (21 ft. lbs.).
5. Connect the front door wire harness to the body
wire harness.
6. Reconnect the negative battery cable.
7. If necessary, adjust the front door (Refer to 23 -
BODY/DOOR-FRONT - ADJUSTMENTS).
ADJUSTMENTS
ADJUSTMENT
NOTE: It is recommended that you adjust the rear door before adjusting the front door (Refer to 23 - BODY/
DOORS - REAR/DOOR - ADJUSTMENTS).
•
Door adjustment measurements should be taken from stationary or welded body panels like the roof,
rocker or quarter panels.
•
During adjustment procedures, it is recommended that all the hinge fasteners be loosened except for the
upper most fasteners. Adjustments can be made using the upper bolts to hold the door with final torque
of the fasteners occurring after correct door positioning is achieved.
•
A suitable body sealant should be used when removing or moving the hinges.
FORE/AFT
NOTE: Fore/aft (lateral) door adjustment is done
by loosening the hinge to the body fasteners one
hinge at a time and moving the door to the correct
position.
1. Support the front door with a suitable lifting device.
2. Loosen the four bolts (3) that secure the front door
hinges (1 and 2) to the A-pillar.
3. Adjust the front door to the correct position (Refer
to 23 - BODY/BODY STRUCTURE/GAP AND
FLUSH - SPECIFICATIONS).
4. Tighten the upper bolt of the upper hinge to the
A-pillar to 28 N·m (21 ft. lbs.).
5. Tighten the upper bolt of the lower hinge to 28 N·m
(21 ft. lbs.).
6. Tighten the remaining hinge bolts to 28 N·m (21 ft.
lbs.).
23 - 18
DOOR - FRONT
WK