Jeep Grand Cherokee WJ. Manual - part 421
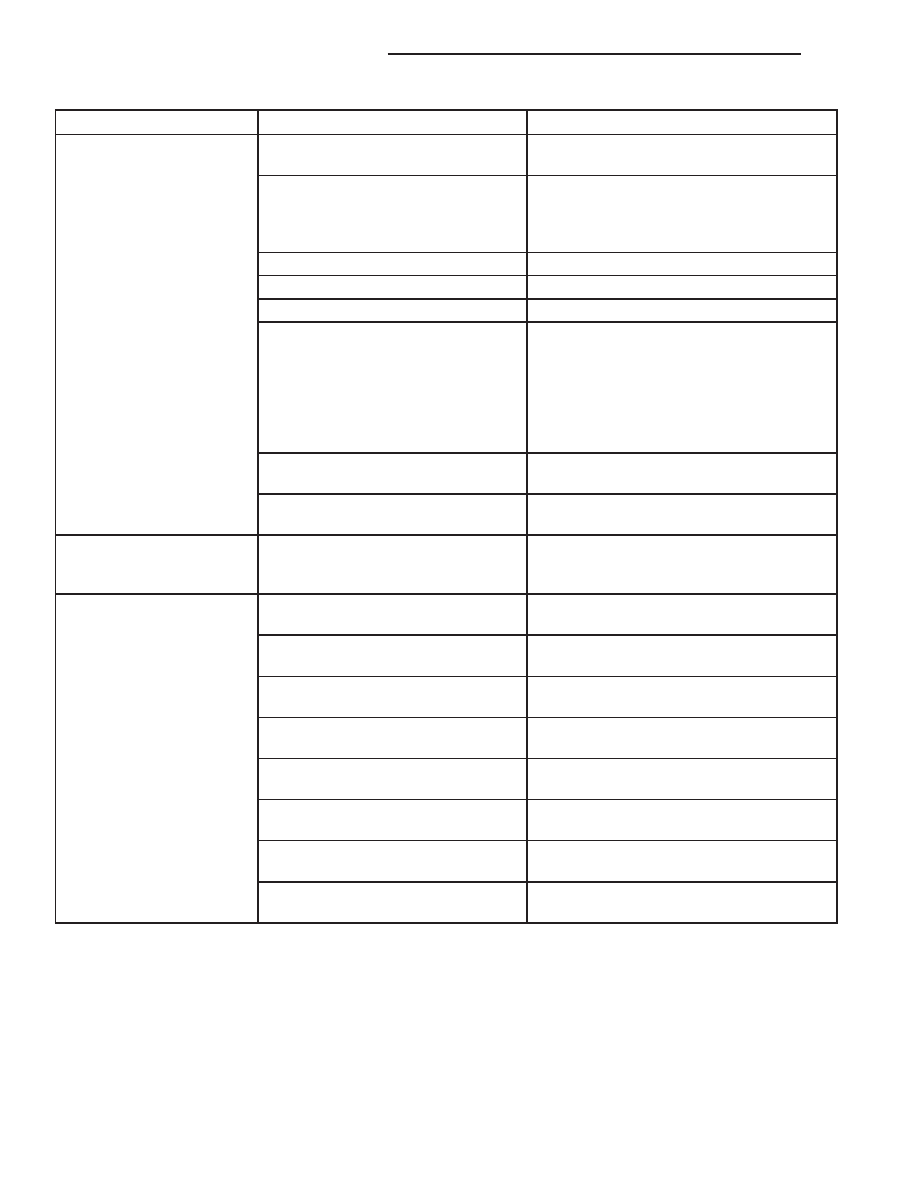
CONDITION
POSSIBLE CAUSES
CORRECTION
SLIPS IN FORWARD
DRIVE RANGES
1. Fluid Level Low.
1. Add fluid and check for leaks.
2. Fluid Foaming.
2. Check for high oil level, bad pump
gasket or seals, dirt between pump halves
and loose pump bolts. Replace pump if
necessary.
3. Throttle Linkage Misadjusted.
3. Adjust linkage.
4. Gearshift Linkage Misadjusted.
4. Adjust linkage.
5. Rear Clutch Worn.
5. Inspect and replace as needed.
6. Low Hydraulic Pressure Due to
Worn Pump, Incorrect Control
Pressure Adjustments, Valve Body
Warpage or Malfunction, Sticking,
Leaking Seal Rings, Clutch Seals
Leaking, Servo Leaks, Clogged Filter
or Cooler Lines.
6. Perform hydraulic and air pressure tests
to determine cause.
7. Rear Clutch Malfunction, Leaking
Seals or Worn Plates.
7. Air pressure check clutch-servo operation
and repair as required.
8. Overrunning Clutch Worn, Not
Holding (Slips in 1 Only).
8. Replace Clutch.
SLIPS IN LOW GEAR “D”
ONLY, BUT NO IN 1
POSITION
Overrunning Clutch Faulty.
Replace overrunning clutch.
GROWLING, GRATING OR
SCRAPING NOISES
1. Drive Plate Broken.
1. Replace.
2. Torque Converter Bolts Hitting
Dust Shield.
2. Dust shield bent. Replace or repair.
3. Planetary Gear Set Broken/
Seized.
3. Check for debris in oil pan and repair as
required.
4. Overrunning Clutch Worn/Broken.
4. Inspect and check for debris in oil pan.
Repair as required.
5. Oil Pump Components Scored/
Binding.
5. Remove, inspect and repair as required.
6. Output Shaft Bearing or Bushing
Damaged.
6. Remove, inspect and repair as required.
7. Clutch Operation Faulty.
7. Perform air pressure check and repair as
required.
8. Front and Rear Bands
Misadjusted.
8. Adjust bands.
21 - 66
42RE AUTOMATIC TRANSMISSION
WJ
DIAGNOSIS AND TESTING (Continued)