Infiniti QX56 (JA60). Manual - part 993
CONTROL UNIT
VTL-7
< ON-VEHICLE REPAIR >
C
D
E
F
G
H
J
K
L
M
A
B
VTL
N
O
P
ON-VEHICLE REPAIR
CONTROL UNIT
Removal and Installation
INFOID:0000000005147605
A/C and AV SWITCH ASSEMBLY
Removal and Installation
The front A/C switch is integrated into the A/C and AV switch assembly in cluster lid C in the instrument panel.
AV-169, "Removal and Installation"
.
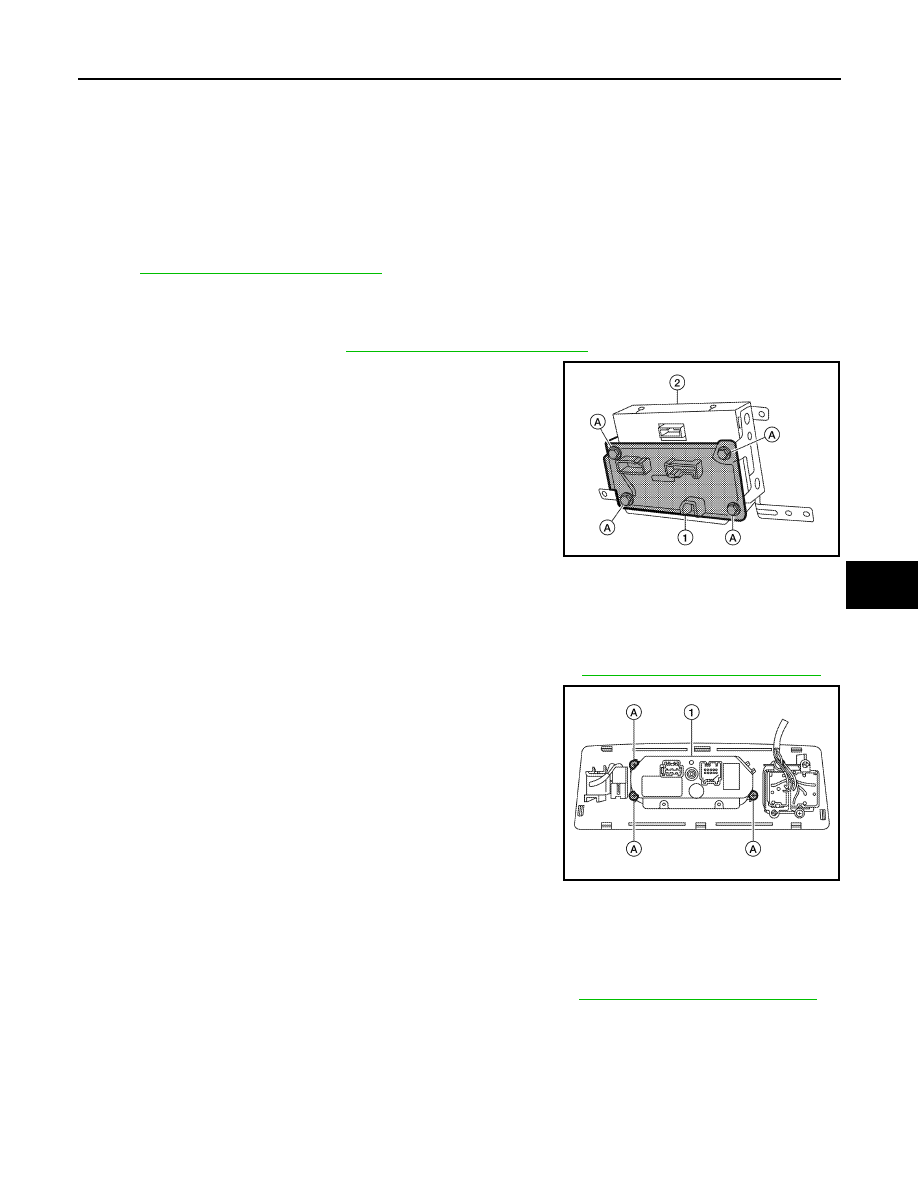
A/C AUTO AMP.
Removal
1. Remove the display unit. Refer to
AV-171, "Removal and Installation"
.
2. Remove the four screws (A) and remove the A/C auto amp. (1)
from the back of the display unit (2).
Installation
Installation is in the reverse order of removal.
REAR AIR CONTROL (FRONT)
Removal
1. Remove the front roof console finisher from the headlining. Refer to
INT-17, "Removal and Installation"
2. Remove the three screws (A) and remove the rear air control
(front) (1).
Installation
Installation is in the reverse order of removal.
REAR AIR CONTROL (REAR)
Removal
1. Remove the rear roof console finisher from the headlining. Refer to
INT-17, "Removal and Installation"
.
ALIIA0063ZZ
ALIIA0058ZZ