Infiniti QX56 (JA60). Manual - part 539
EXT-26
< SERVICE INFORMATION >
REAR SPOILER
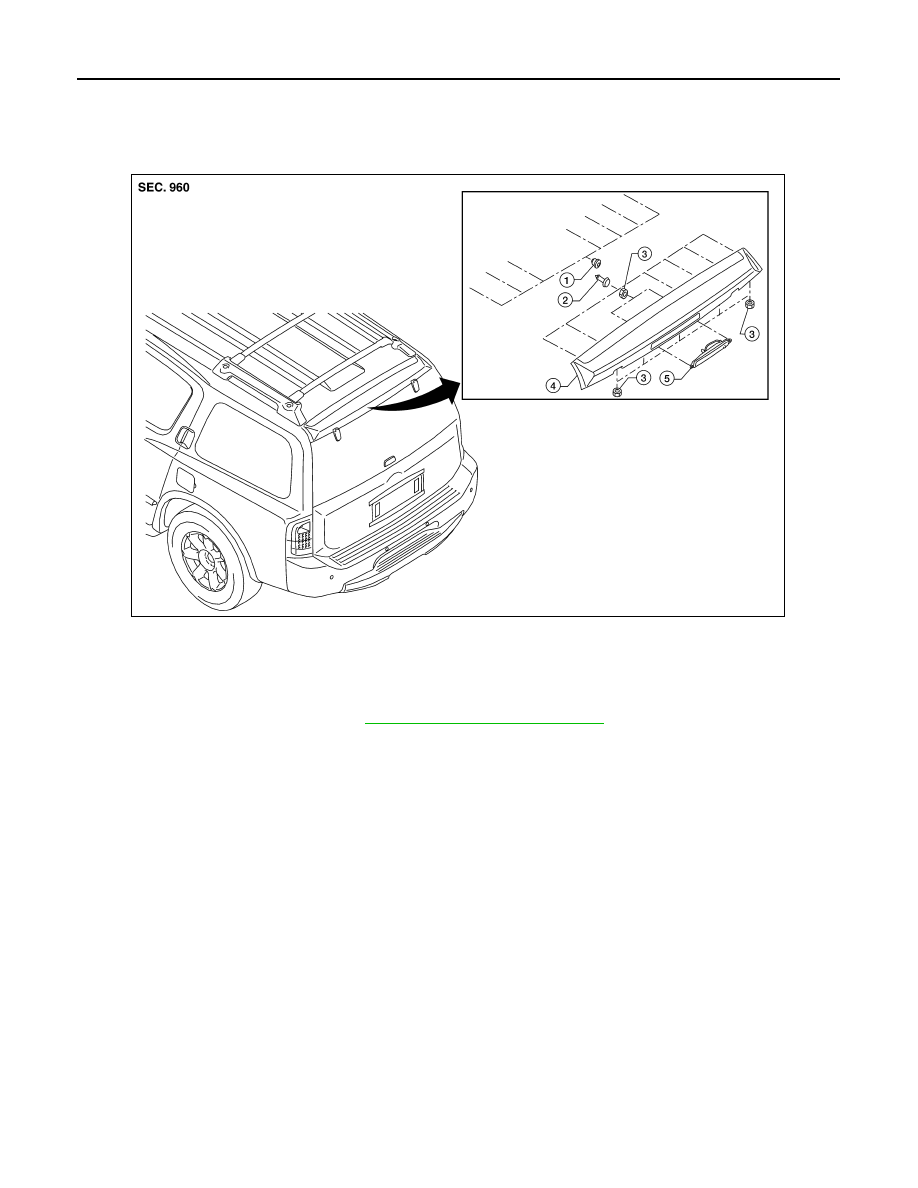
REAR SPOILER
Removal and Installation
INFOID:0000000005147327
Removal
1. Remove the back door trim. Refer to
INT-21, "Removal and Installation"
.
2. Disconnect the harness to high-mount stop lamp.
3. Disconnect the washer tube.
4. Remove the nuts, release the clips and remove the rear spoiler.
• Release adhesive tape with sawing motion from mono filament line that has knots in it.
• Remove residue of adhesive tape completely from vehicle surface with strip-off wheel or equivalent.
CAUTION:
• Never apply tack-paper adhesive remover to body panel surface finished with lacquer-based
paints.
• Use care not to damage the vehicle surface during adhesive tape residue removal.
5. Remove the nuts and remove the high-mount stop lamp.
Installation
Installation is in the reverse order of removal.
NOTE:
Apply adhesion promoter only to areas of rear spoiler that tape will be applied, as required.
1.
Grommet
2.
Clip C101
3.
Nut
4.
Rear air spoiler
5.
High-mount stop lamp
WIIA0961E