Infiniti QX56 (Z62). Manual - part 325


  Index      Infiniti     Infiniti QX56 (Z62) - service repair manual 2011 year


Search            


Content   ..  323  324  325  326   ..


Infiniti QX56 (Z62). Manual - part 325


DAS

ACTION TEST

DAS-337

< BASIC INSPECTION >

[LDW & LDP]

C

D

E

F

G

H

I

J

K

L

M

B

N

P

A

After the operating conditions of warning are satisfied, the warning continues until the vehicle speed
reaches approximately 60 km/h (40 MPH). Refer to 

DAS-277, "LANE DEPARTURE WARNING (LDW)

SYSTEM : System Description"

.

>> GO TO 2.

2.

CHECK LDP SYSTEM SETTING

1.

Start the engine.

2.

Check that the LDP system setting can be enabled/disabled on the navigation screen.

3.

Turn OFF the ignition switch and wait for 30 seconds or more.

4.

Check that the previous setting is saved when the engine starts again.

>> GO TO 3.

3.

ACTION TEST FOR LDP

1.

Enable the setting of the LDP system on the navigation screen.

2.

Turn dynamic driver assistance switch ON (LDP ON indicator lamp is ON).
NOTE:
LDW system is OFF.

3.

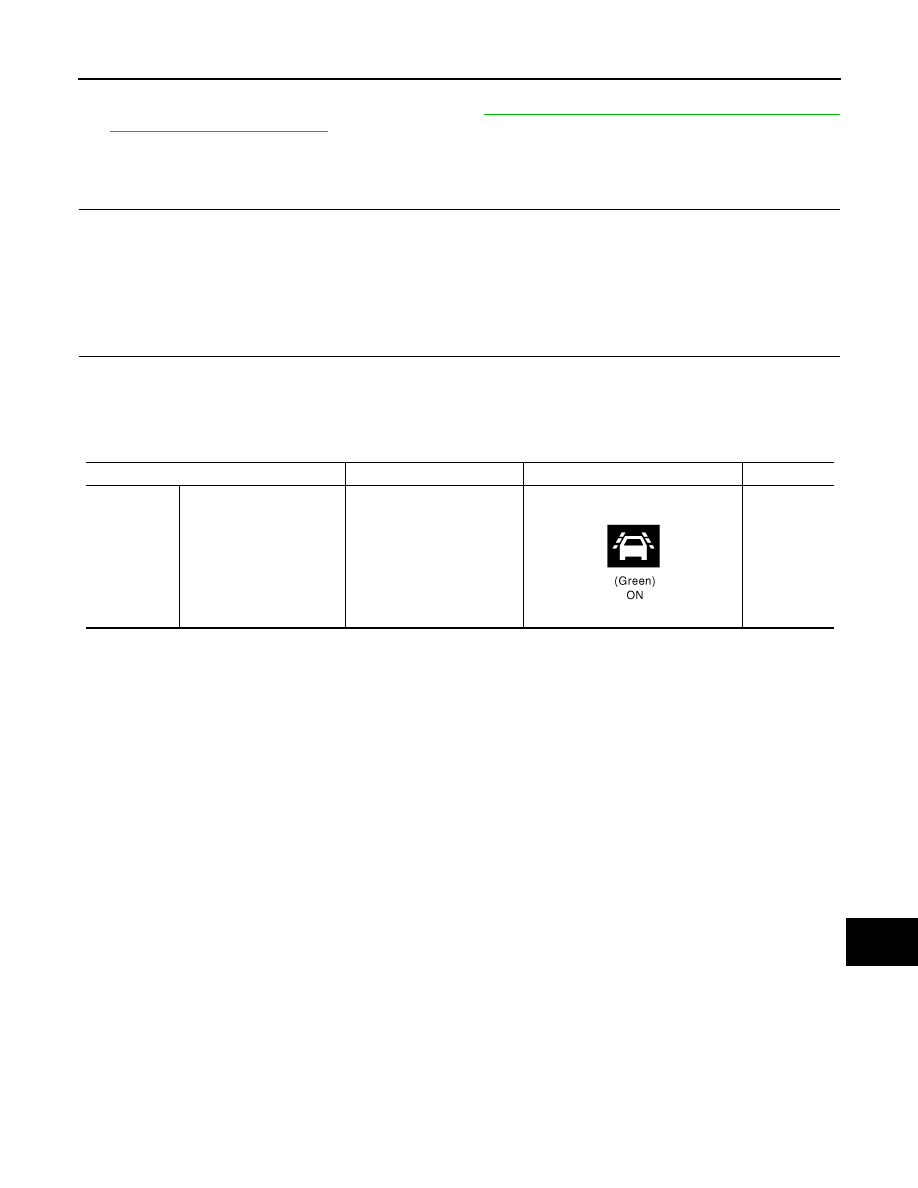
Check the LDP operation according to the following table.

Vehicle condition/ Driver's operation

Action

Indication on the combination meter

Buzzer

Less than Ap-

prox. 60 km/h 

(40 MPH)

Close to lane marker

No action

JPOIA0021GB

DAS-338

< BASIC INSPECTION >

[LDW & LDP]

ACTION TEST

NOTE:
After the operating conditions are satisfied, the control continues until the vehicle speed reaches approxi-
mately 60 km/h (40 MPH). Refer to 

DAS-280, "LANE DEPARTURE PREVENTION (LDP) SYSTEM : System

Description"

.

>> INSPECTION END

Approx. 70 

km/h (45 

MPH) or more

Close to lane marker

Warning and yawing
• Buzzer sounds
• Warning lamp blinks
• Brake control

Short continu-

ous beeps

• Close to lane marker
• Turn signal ON (Deviate 

side)

No action

Close to lane marker with 
soft braking

Warning
• Buzzer sounds
• Warning lamp blinks

Short continu-

ous beeps

• VDC OFF Switch

OFF 

 ON

(VDC system ON 


OFF)

• SNOW mode switch

OFF 

 ON

• 4WD shift switch is in the 

4H or 4L 

Cancellation
• Buzzer sounds
• Indicator lamp blinks
NOTE:
When dynamic driver assis-
tance switch is ON 

 OFF, in-

dicator lamp is turned OFF.

Beep

Vehicle condition/ Driver's operation

Action

Indication on the combination meter

Buzzer

JPOIA0022GB

JPOIA0021GB

JPOIA0022GB

JPOIA0023GB

DAS

ADDITIONAL SERVICE WHEN REPLACING LANE CAMERA UNIT

DAS-339

< BASIC INSPECTION >

[LDW & LDP]

C

D

E

F

G

H

I

J

K

L

M

B

N

P

A

ADDITIONAL SERVICE WHEN REPLACING LANE CAMERA UNIT

Description

INFOID:0000000006223732

Always adjust the camera aiming after removing and installing or replacing the lane camera unit.

CAUTION:

The system does not operate normally unless the camera aiming adjustment is performed. Always
perform it.

Work Procedure

INFOID:0000000006223733

1.

CAMERA AIMING ADJUSTMENT

Perform the camera aiming adjustment with CONSULT-III. Refer to 

DAS-340, "Description"

.

>> GO TO 2.

2.

PERFORM SELF-DIAGNOSIS

Perform the self-diagnosis of lane camera unit with CONSULT-III. Check if any DTC is detected.
Is any DTC detected?

YES

>> Perform the trouble diagnosis for the detected DTC. Refer to 

DAS-316, "DTC Index"

.

NO

>> GO TO 3.

3.

LDW/LDP SYSTEM ACTION TEST

1.

Perform the LDW/LDP system action test. Refer to 

DAS-339, "Description"

.

2.

Check that the LDW/LDP system operates normally.

>> WORK END

DAS-340

< BASIC INSPECTION >

[LDW & LDP]

CAMERA AIMING ADJUSTMENT

CAMERA AIMING ADJUSTMENT

Description

INFOID:0000000006223734

Always adjust the camera aiming after removing and installing or replacing the lane camera unit.

CAUTION:

• Place the vehicle on level ground when the camera aiming adjustment is operated.
• Follow the CONSULT-III when performing the camera aiming. (Camera aiming adjustment cannot be

operated without CONSULT-III.)

Work Procedure (Preparation)

INFOID:0000000006223735

1.

PERFORM SELF-DIAGNOSIS

Perform self-diagnosis of ADAS control unit and lane camera unit.
Is any DTC detected?

Except “C1B01”>>Perform diagnosis on the detected DTC and repair or replace the applicable item. Refer to

DAS-310, "DTC Index"

 (ICC/ADAS) or 

DAS-316, "DTC Index"

 (LANE CAMERA).

“C1B01” or no DTC>>GO TO 2.

2.

PREPARATION BEFORE CAMERA AIMING ADJUSTMENT

1.

Perform pre-inspection for diagnosis. Refer to 

DAS-335, "Inspection Procedure"

.

2.

Adjust the tire pressure to the specified pressure value.

3.

Maintain no-load in vehicle.

4.

Check if coolant and engine oil are filled up to correct level and fuel tank is full.

5.

Shift the selector lever to “P” position and release the parking brake.

6.

Clean the windshield.

7.

Completely clear off the instrument panel. 

>> GO TO 3.

3.

 PREPARATION OF AIMING ADJUSTMENT JIG

Prepare the aiming adjustment jig according to the following procedure and the figure.
1.

Print out the target mark attached in this service manual. Refer to 

DAS-343, "Work Procedure (Target

Mark Sample)"

.

2.

Stick a printed target mark on the board with a scotch tape or a piece of double-sided tape.
NOTE:
• Use the board that peripheral area of the target is monochrome such as a white-board.
• Notice that the cross of the target is horizontal and vertical.

JPOIA0011ZZ


Content   ..  323  324  325  326   ..