Content .. 1396 1397 1398 1399 ..
Infiniti QX56 (Z62). Manual - part 1398
WW-70
< REMOVAL AND INSTALLATION >
FRONT WIPER DRIVE ASSEMBLY
FRONT WIPER DRIVE ASSEMBLY
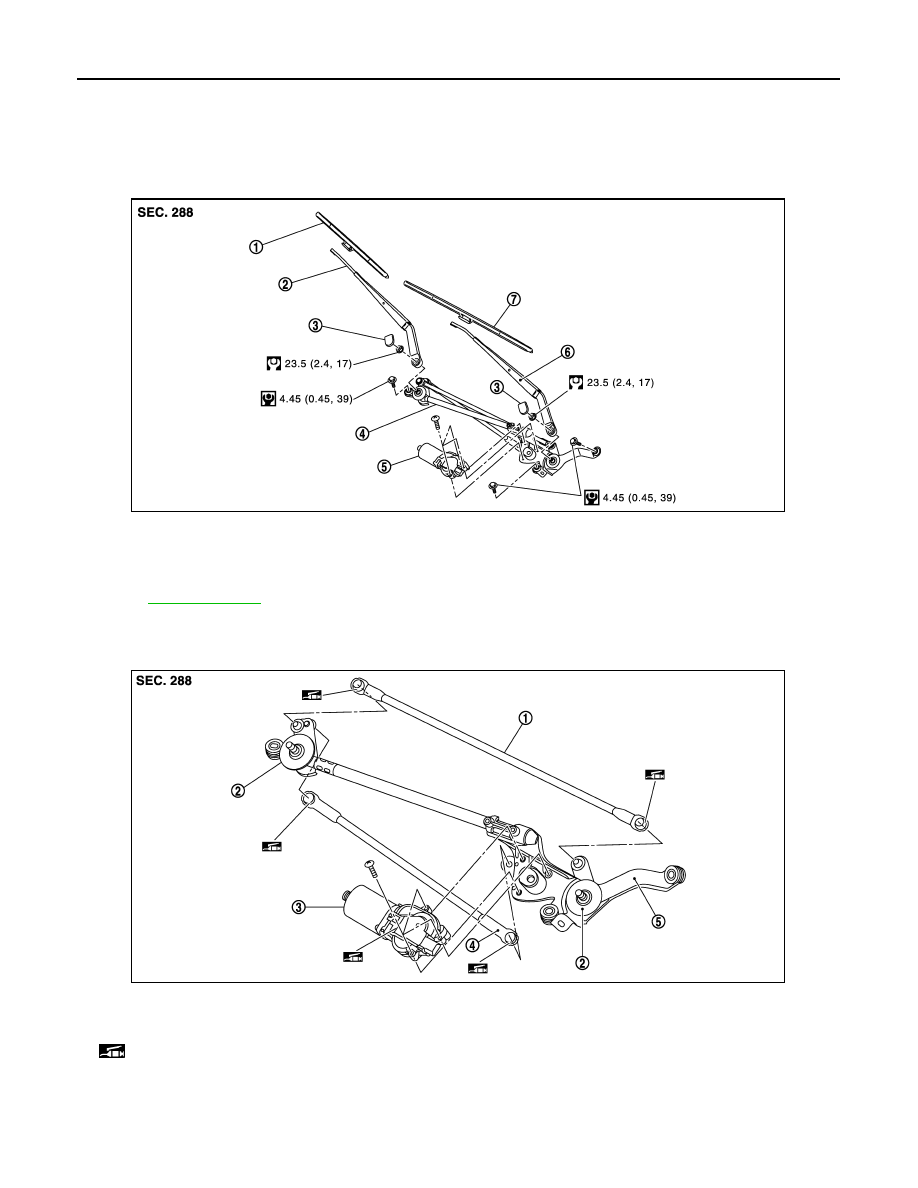
Exploded View
INFOID:0000000006220414
REMOVAL
DISASSEMBLY
Removal and Installation
INFOID:0000000006220415
REMOVAL
1.
Front wiper blade RH
2.
Front wiper arm RH
3.
Front wiper arm cap
4.
Front wiper drive assembly
5.
Front wiper motor
6.
Front wiper arm LH
7.
Front wiper blade LH
Refer to
for the symbols in the figure.
JMLIA0940GB
1.
Front wiper linkage 1
2.
Shaft seal
3.
Front wiper motor
4.
Front wiper linkage 2
5.
Front wiper frame
: Multi
−
purpose grease or an equivalent.
JMLIA0945ZZ