Infiniti Q45. Manual - part 684
HEADLAMP AIMING CONTROL (AUTO)
LT-73
C
D
E
F
G
H
I
J
L
M
A
B
LT
DTC B2085 [LOW BEAM SIG OPEN LINE]
NKS0018I
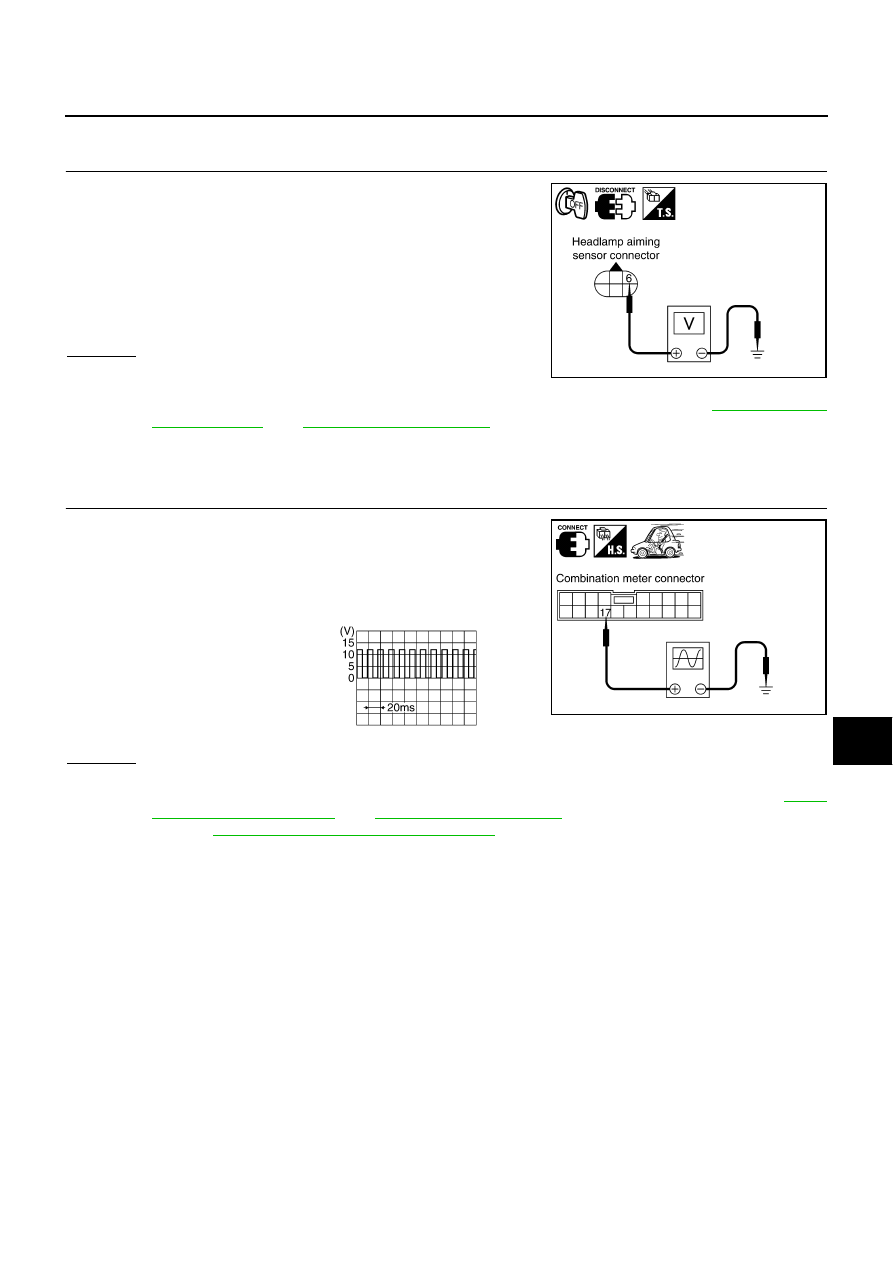
1.
CHECK TAIL LAMP RELAY SIGNAL
1.
Turn ignition switch OFF.
2.
Disconnect headlamp aiming sensor connector.
3.
Turn ignition switch ON.
4.
Turn lighting switch 1st position.
5.
Check voltage between headlamp aiming sensor harness con-
nector B622 terminal 6 and ground.
OK or NG
OK
>> If the self-diagnosis result code [B2085] reappears when
performing the self-diagnosis again after erasing the
self-diagnosis result, replace and initialize the headlamp aiming sensor. Refer to
NG
>> Repair harness or connector.
DTC B2086 [FRQ. OVER LIMIT]
NKS0018J
1.
CHECK VEHICLE SPEED
1.
Start engine and place vehicle in a driving condition.
2.
Check the waveform of voltage between combination meter har-
ness connector terminal 17 and body ground when the vehicle is
in driving condition at a speed of about 40 km/h (25 MPH).
OK or NG
OK
>> If the self-diagnosis result code [B2086] reappears when performing the test drive after erasing
the self-diagnosis result, replace and initialize the headlamp aiming sensor. Refer to
NG >> Refer
DI-18, "Vehicle Speed Signal Inspection"
.
6 - Ground
: Battery voltage
PKIB0125E
17 - Ground
:
PKIB0123E
PKIA1935E