Infiniti M35/M45 Y50. Manual - part 64


  Index      Infiniti     Infiniti M35/M45 Y50 - service repair manual 2007 year


Search            copyright infringement  


Content   ..  62  63  64  65   ..


Infiniti M35/M45 Y50. Manual - part 64


DTC P1846 ATF PRESSURE SWITCH 6

AT-179

D

E

F

G

H

I

J

K

L

M

A

B

AT

Diagnostic Procedure

NCS001PO

1. 

CHECK INPUT SIGNAL

 With CONSULT-II

1.

Start engine.

2.

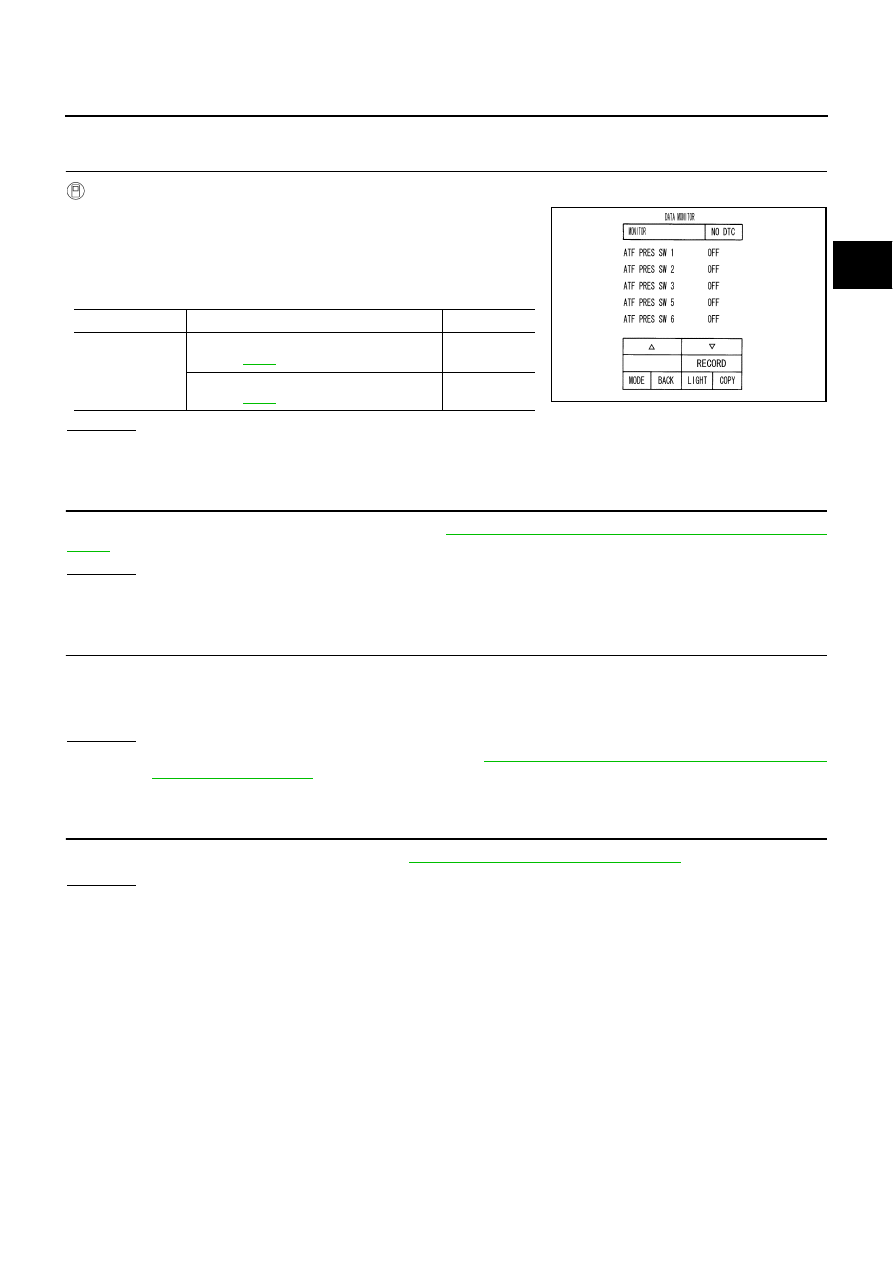
Select “ECU INPUT SIGNALS” or “MAIN SIGNALS” in “DATA
MONITOR” mode for “A/T” with CONSULT-II.

3.

Drive vehicle in the “D” position (2nd 

Þ

 3rd gear), and confirm

the ON/OFF actuation of the “ATF PRES SW 6”.

OK or NG

OK

>> GO TO 4.

NG

>> GO TO 2.

2. 

CHECK TCM POWER SUPPLY AND GROUND CIRCUIT

Check TCM power supply and ground circuit. Refer to 

AT-180, "MAIN POWER SUPPLY AND GROUND CIR-

CUIT"

 .

OK or NG

OK

>> GO TO 3.

NG

>> Repair or replace damaged parts.

3. 

DETECT MALFUNCTIONING ITEM

Check the following.

The A/T assembly harness connector pin terminals for damage or loose connection with harness connec-
tor.

OK or NG

OK

>> Replace the control valve with TCM. Refer to 

AT-236, "Control Valve With TCM and A/T Fluid

Temperature Sensor 2"

 .

NG

>> Repair or replace damaged parts.

4. 

CHECK DTC

Perform “DTC Confirmation Procedure”. Refer to 

AT-178, "DTC Confirmation Procedure"

 .

OK or NG

OK

>> INSPECTION END

NG

>> GO TO 2.

Item name

Condition

Display value

ATF PRES SW 6

High and low reverse clutch engaged. 
Refer to 

AT-21

 .

ON

High and low reverse clutch disengaged 
Refer to 

AT-21

 .

OFF

PCIA0067E

AT-180

MAIN POWER SUPPLY AND GROUND CIRCUIT

MAIN POWER SUPPLY AND GROUND CIRCUIT

PFP:00100

Wiring Diagram — AT — MAIN

NCS001PP

TCWT0349E

MAIN POWER SUPPLY AND GROUND CIRCUIT

AT-181

D

E

F

G

H

I

J

K

L

M

A

B

AT

TCM terminals and data are reference value. Measured between each terminal and ground.

Diagnostic Procedure

NCS001PQ

1. 

CHECK TCM POWER SOURCE STEP 1

1.

Turn ignition switch OFF.

2.

Disconnect A/T assembly harness connector.

3.

Check voltage between A/T assembly harness connector termi-
nals and ground.

OK or NG

OK

>> GO TO 2.

NG

>> GO TO 3.

2. 

CHECK TCM POWER SOURCE STEP 2

1.

Disconnect A/T assembly harness connector.

2.

Turn ignition switch ON.

3.

Check voltage between A/T assembly harness connector termi-
nals and ground.

OK or NG

OK

>> GO TO 4.

NG

>> GO TO 3.

Terminal

Item

Condition

Data (Approx.)

1

Power supply
(Memory back-up)

Always

Battery voltage

2

Power supply
(Memory back-up)

Always

Battery voltage

5

Ground

Always

0 V

6

Power supply

Battery voltage

0  V

10

Ground

Always

0 V

Item

Connector

Terminal

Voltage

TCM

F42

1 - Ground

Battery voltage

2 - Ground

6 - Ground

0 V

SCIA2104E

Item

Connector

Terminal

Voltage

TCM

F42

1 - Ground

Battery voltage

2 - Ground

6 - Ground

SCIA2105E

AT-182

MAIN POWER SUPPLY AND GROUND CIRCUIT

3. 

DETECT MALFUNCTIONING ITEM

Check the following.

Harness for short or open between battery and A/T assembly harness connector terminals 1, 2

Harness for short or open between push-button ignition switch and A/T assembly harness connector ter-
minal 6

10A fuse (No. 34, located in the fuse and fusible link block) and 10A fuse (No. 83, located in the IPDM E/
R)

Push-button ignition switch (Refer to 

PG-3, "POWER SUPPLY ROUTING CIRCUIT"

 )

OK or NG

OK

>> GO TO 4.

NG

>> Repair or replace damaged parts.

4. 

CHECK TCM GROUND CIRCUIT

1.

Turn ignition switch OFF.

2.

Disconnect A/T assembly harness connector.

3.

Check continuity between A/T assembly harness connector ter-
minals and ground.

If OK, check harness for short to ground and short to power.

OK or NG

OK

>> GO TO 5.

NG

>> Repair open circuit or short to ground or short to power

in harness or connectors.

5. 

DETECT MALFUNCTIONING ITEM

Check the following.

The A/T assembly harness connector terminals for damage or loose connection with harness connector.

OK or NG

OK

>> GO TO 6.

NG

>> Repair or replace damaged parts.

6. 

PERFORM SELF-DIAGNOSIS

Perform self-diagnosis. Refer to 

AT-92, "SELF-DIAGNOSTIC RESULT MODE"

 .

OK or NG

OK

>> INSPECTION END

NG-1

>> Self-diagnosis does not activate: GO TO 7.

NG-2

>> DTC is displayed: Check the malfunctioning system. Refer to 

AT-92, "SELF-DIAGNOSTIC

RESULT MODE"

 .

Continuity should exist.

SCIA2106E


Content   ..  62  63  64  65   ..