Infiniti F50. Manual - part 678
ENGINE MAINTENANCE
MA-17
C
D
E
F
G
H
I
J
K
M
A
B
MA
7.
Refill with new engine oil.
Engine oil specification and viscosity:
●
MA-11, "RECOMMENDED FLUIDS AND LUBRICANTS"
.
Engine oil capacity (Approximate);
Unit:
(US qt, lmp qt)
CAUTION:
●
The refill capacity depends on the engine oil temperature and drain time. Use these specifica-
tions for reference only.
●
Always use the oil level gauge to determine when the proper amount of engine oil is in
engine.
8.
Warm up engine and check area around drain plug and oil filter for oil leakage.
9.
Stop engine and wait for 15 minutes.
10. Check engine oil level. Refer to
Changing Oil Filter
ELS000KW
REMOVAL
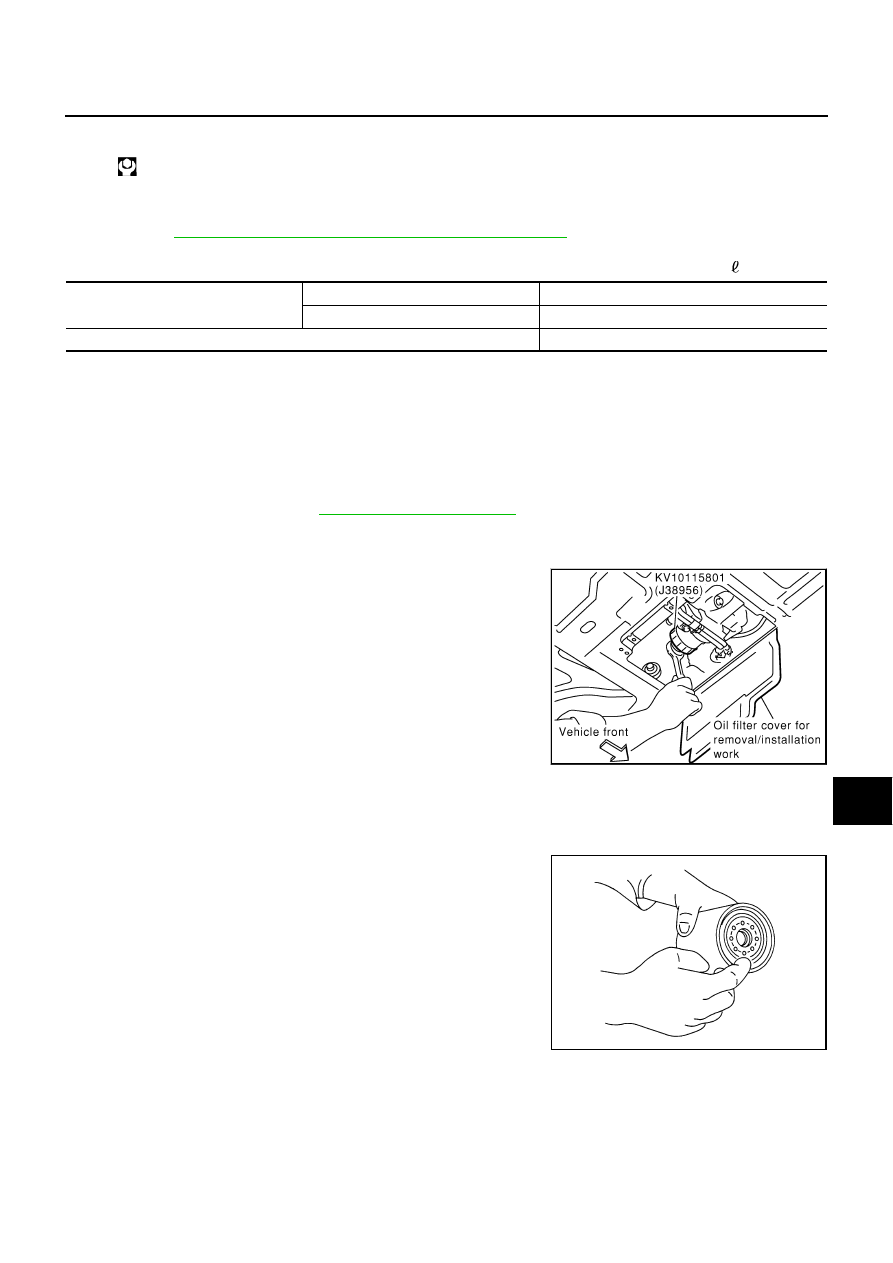
1.
Open oil filter installation/removal cover on engine undercover.
2.
Using the oil filter wrench (SST), remove the oil filter.
CAUTION:
●
The oil filter is provided with a relief valve.
Use genuine NISSAN oil filter or equivalent.
●
Be careful not to get burned when engine and engine oil
are hot.
●
When removing, prepare a shop cloth to absorb any
engine oil leakage or spillage.
●
Do not allow engine oil to adhere to drive belts.
●
Completely wipe off any engine oil that adhere to engine
and vehicle.
INSTALLATION
1.
Remove foreign materials adhering to the oil filter installation surface.
2.
Apply engine oil to the oil seal circumference of new oil filter.
Oil pan drain plug:
: 29.4 - 39.2 N·m (3.0 - 4.0 kg-m, 22 - 28 ft-lb)
Drain and refill
With oil filter change
Approximately 5.6 (5-7/8, 4-7/8)
Without oil filter change
Approximately 5.0 (5-1/4, 4-3/8)
Dry engine (engine overhaul)
Approximately 6.7 (7-1/8, 5-7/8)
PBIC0137E
SMA010