Infiniti I35 (A33). Manual - part 74
NHAT0124
SAT008D
1.
Drain ATF through drain plug.
2.
Remove torque converter.
SAT009D
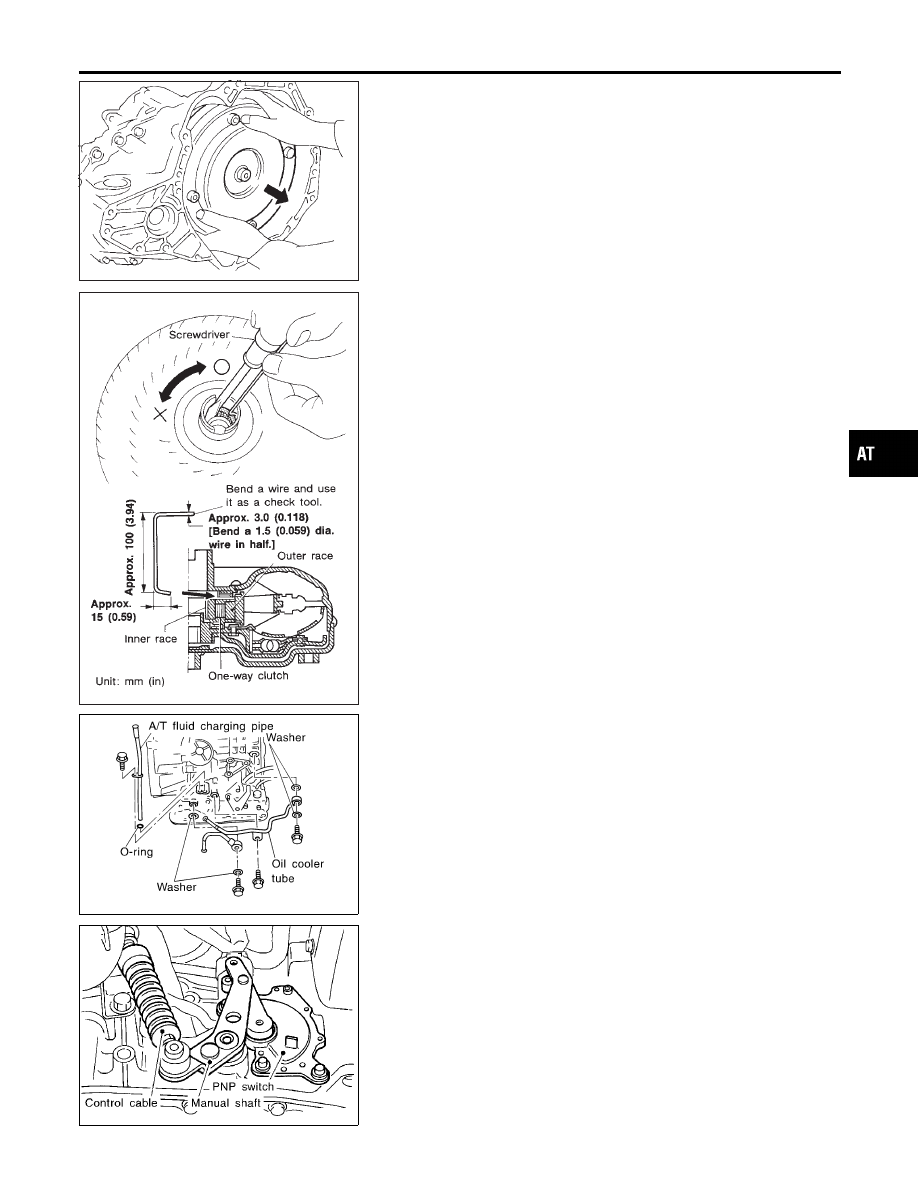
3.
Check torque converter one-way clutch using check tool as
shown at left.
a.
Insert check tool into the groove of bearing support built into
one-way clutch outer race.
b.
When fixing bearing support with check tool, rotate one-way
clutch spline using screwdriver.
c.
Check that inner race rotates clockwise only. If not, replace
torque converter assembly.
SAT768J
4.
Remove A/T fluid charging pipe and fluid cooler tube.
SAT023JA
5.
Set manual shaft to position P.
6.
Remove park/neutral position (PNP) switch.
GI
MA
EM
LC
EC
FE
AX
SU
BR
ST
RS
BT
HA
SC
EL
IDX
DISASSEMBLY
AT-293