Infiniti G37 Coupe. Manual - part 735


  Index      Infiniti     Infiniti G37 Coupe - service repair manual 2008 year


Search            


Content   ..  733  734  735  736   ..


Infiniti G37 Coupe. Manual - part 735


GW-8

< PRECAUTION >

PRECAUTIONS

PRECAUTION

PRECAUTIONS

Precaution for Supplemental Restraint System (SRS) "AIR BAG" and "SEAT BELT 
PRE-TENSIONER"

INFOID:0000000001912138

The Supplemental Restraint System such as “AIR BAG” and “SEAT BELT PRE-TENSIONER”, used along
with a front seat belt, helps to reduce the risk or severity of injury to the driver and front passenger for certain
types of collision. This system includes seat belt switch inputs and dual stage front air bag modules. The SRS
system uses the seat belt switches to determine the front air bag deployment, and may only deploy one front
air bag, depending on the severity of a collision and whether the front occupants are belted or unbelted.
Information necessary to service the system safely is included in the “SRS AIRBAG” and “SEAT BELT” of this
Service Manual.

WARNING:

• To avoid rendering the SRS inoperative, which could increase the risk of personal injury or death in

the event of a collision which would result in air bag inflation, all maintenance must be performed by
an authorized NISSAN/INFINITI dealer.

• Improper maintenance, including incorrect removal and installation of the SRS, can lead to personal

injury caused by unintentional activation of the system. For removal of Spiral Cable and Air Bag
Module, see the “SRS AIRBAG”.

• Do not use electrical test equipment on any circuit related to the SRS unless instructed to in this

Service Manual. SRS wiring harnesses can be identified by yellow and/or orange harnesses or har-
ness connectors.

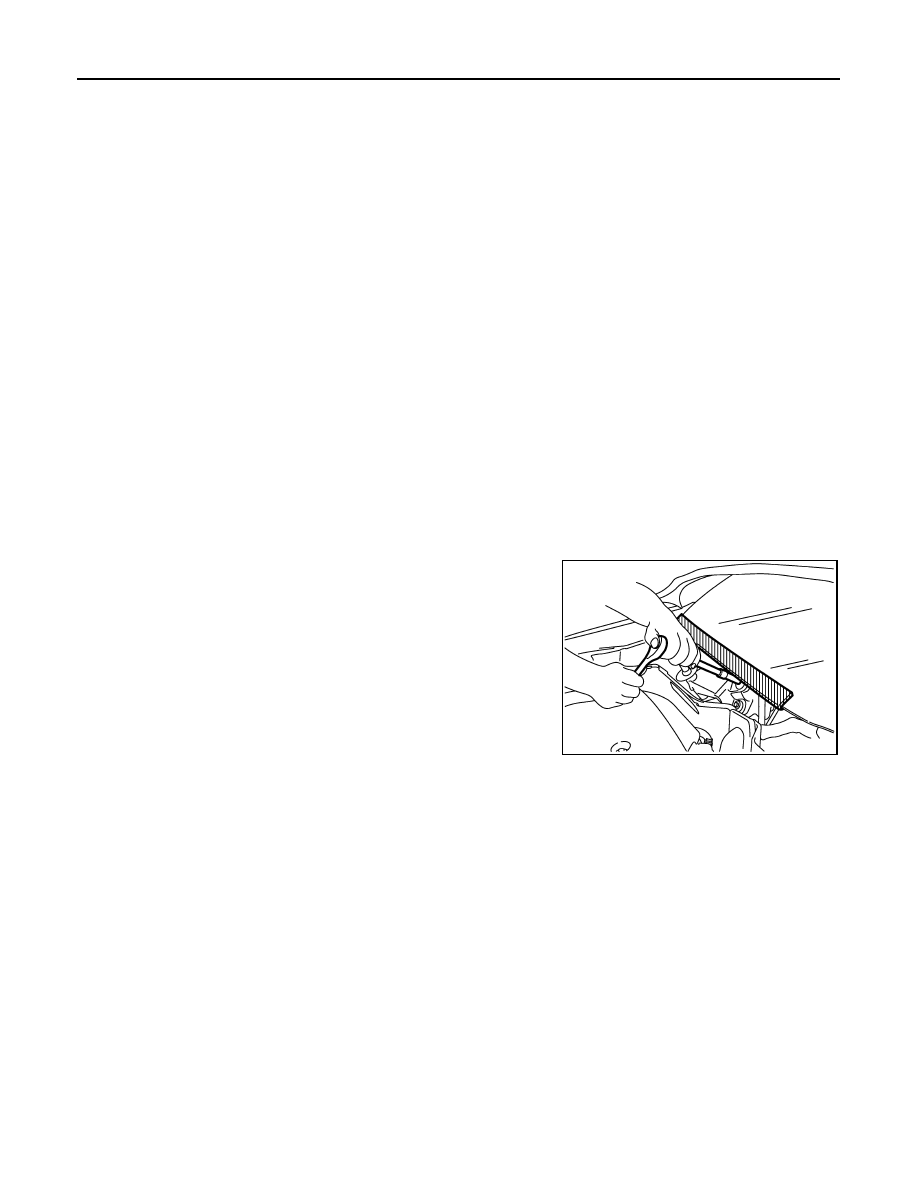
Precaution for Procedure without Cowl Top Cover

INFOID:0000000001912139

When performing the procedure after removing cowl top cover, cover
the lower end of windshield with urethane, etc.

Handling for Adhesive and Primer

INFOID:0000000001740879

• Do not use an adhesive which is past its usable date. Shelf life of this product is limited to six months after

the date of manufacture. Carefully adhere to the expiration or manufacture date printed on the box.

• Keep primers and adhesive in a cool, dry place. Ideally, they should be stored in a refrigerator.
• Open the seal of the primer and adhesive just before application. Discard the remainder.
• Before application, be sure to shake the primer container to stir the contents. If any floating material is found,

do not use it.

• If any primer or adhesive contacts the skin, wipe it off with gasoline or equivalent and wash the skin with

soap.

• When using primer and adhesive, always observe the precautions in the instruction manual.

PIIB3706J

PREPARATION

GW-9

< PREPARATION >

C

D

E

F

G

H

I

J

L

M

A

B

GW

N

O

P

PREPARATION

PREPARATION

Special Service Tools

INFOID:0000000001740880

The actual shapes of Kent-Moore tools may differ from those of special service tools illustrated here.

Commercial Service Tools

INFOID:0000000001740881

Tool number
(Kent-Moore No.)
Tool name

Description

(J-39570)
Chassis ear

Locating the noise

(J-43980)
NISSAN Squeak and Rat-
tle Kit

Repairing the cause of noise

SIIA0993E

SIIA0994E

Tool name

Description

Engine ear

Locating the noise

Suction lifter

Holding the door glass

Remover tools

Remove the clips, pawls and metal clips

SIIA0995E

PIIB1805J

PIIB7923J

GW-10

< ON-VEHICLE REPAIR >

WINDSHIELD GLASS

ON-VEHICLE REPAIR

WINDSHIELD GLASS

Exploded View

INFOID:0000000001741442

Removal and Installation

INFOID:0000000001741443

REMOVAL

1.

Remove the front pillar garnish. Refer to 

INT-14, "Removal and Installation"

.

2.

Remove partially the headlining (front edge). Refer to 

INT-21, "NORMAL ROOF : Removal and Installa-

tion"

 .

3.

Remove the front wiper arms. Refer to 

WW-88, "Removal and Installation"

.

4.

Remove the cowl top cover. Refer to 

EXT-21, "Removal and Installation"

.

1.

Windshield glass

2.

Spacer

3.

Windshield molding

4.

Dam rubber (upper, lower)

5.

Mirror base

6.

Roof panel 

7.

Primer

8.

Front pillar finisher 

9.

Dash upper cross member

10. Cowl top cover

11.

Adhesive

12. Insulator

13. Front pillar outer upper

14. Front pillar garnish 

Refer to 

GI-4, "Components"

 for symbols in the figure.

JMKIA1195GB

WINDSHIELD GLASS

GW-11

< ON-VEHICLE REPAIR >

C

D

E

F

G

H

I

J

L

M

A

B

GW

N

O

P

5.

Apply protective tape around the windshield glass to protect the painted surface from damage.

6.

Remove glass using piano wire or power cutting tool (A) and an inflatable pump bag (B) after removing
moldings.

NOTE:
Mark the body and the glass with matching marks if the windshield glass is reused.

WARNING:

Always wear safety glasses and heavy gloves to help prevent glass splinters from entering your
eyes or cutting your hands when cutting the glass from the vehicle.

CAUTION:

• Never use a cutting knife or power cutting tool when the windshield glass is reused.
• Be careful not to scratch the glass when removing.
• Never set or stand the glass on its edge. Small chips may develop into cracks.

INSTALLATION

• The dam rubber and insulator should be installed in position.
• Use a genuine Nissan Urethane Adhesive Kit (if available) or equivalent and follow the instructions furnished

with it.

• Open a door window while the urethane adhesive is curing. This prevents the glass from being forced out by

passenger room air pressure when all door windows are closed.

• The molding must be installed securely so that it is in position and leaves no clearance.
• Inform the customer that the vehicle should remain stationary until the urethane adhesive has completely

cured (approximately 24 hours). Curing time varies with temperature and humidity.

WARNING:

• Keep heat and open flames away as primers and adhesive are flammable.
• The materials contained in the kit are harmful if swallowed, and may irritate skin and eyes. Never let

them in contact with the skin and eyes.

• Use in an open, well ventilated location. Never breathe the vapors. They may be harmful if inhaled.

Move immediately to an area with fresh air if affected by vapor inhalation.

• Driving the vehicle before the urethane adhesive has completely cured may affect the performance

of the windshield in case of an accident.

CAUTION:

• Perform adjustment of front wiper arms stop location. Refer to 

WW-89, "Adjustment"

.

• Never use an adhesive which is past its usable term. Shelf life of this product is limited to six months

after the date of manufacture. Adhere carefully to the expiration or manufacture date printed on the
box.

• Keep primers and adhesive in a cool, dry place. Ideally, they should be stored in a refrigerator.
• Never leave primers or adhesive cartridge unattended with their caps open or off.
• The vehicle should not be driven for at least 24 hours or until the urethane adhesive has completely

cured. Curing time varies depending on temperature and humidity. The curing time increases under
lower temperature and lower humidity.

Inspection

INFOID:0000000001741444

Repairing Water Leakage for Windshield

Leakage can be repaired without removing glass.
Determine the extent of leakage if water is leaking between the urethane adhesive material and body or glass.
This can be done by applying water to the windshield area while pushing glass outward.
Apply primer (if necessary) and then urethane adhesive to the leakage point to stop the leakage.

PIIB5779E


Content   ..  733  734  735  736   ..