Infiniti G35 (V35) Sedan. Manual - part 697
EXT-26
< ON-VEHICLE REPAIR >
FLOOR SIDE FAIRING
FLOOR SIDE FAIRING
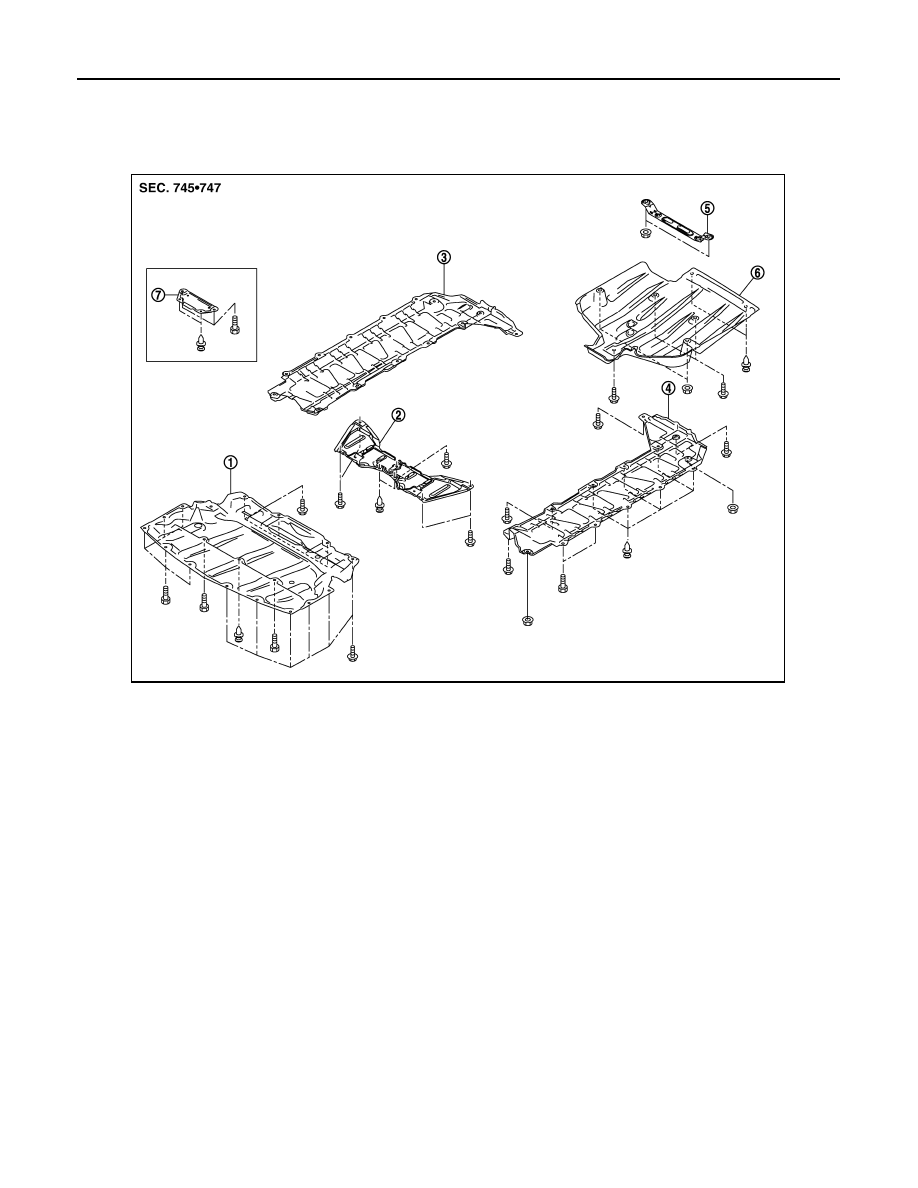
Exploded View
INFOID:0000000000961806
Removal and Installation
INFOID:0000000000961807
REMOVAL
ENGINE LOWER COVER
1.
Remove engine lower cover mounting clip.
2.
Remove engine lower cover mounting bolts with power tool.
3.
Remove front under cover.
FLOOR UNDER COVER (LH/RH)
1.
Remove floor under cover mounting clips.
2.
Remove floor under cover mounting bolts and nuts with power tool.
3.
Remove floor under cover.
REAR DIFFUSER
1.
Remove rear diffuser mounting clips.
2.
Remove rear diffuser mounting bolts and nuts with power tool.
3.
Remove rear diffuser.
INSTALLATION
1.
Engine lower cover
2.
Front under cover (4WD models) 3.
Floor under cover (RH)
4.
Floor under cover (LH)
5.
Rear diffuser bracket
6.
Rear diffuser
7.
Front under cover (2WD models)
JMKIA0081GB