Infiniti FX35 / FX45. Manual - part 705
FFD-30
< SERVICE INFORMATION >
FRONT FINAL DRIVE ASSEMBLY
3.
Press-fit side bearing outer race into gear carrier with tool.
CAUTION:
• At first, using a hammer, tap bearing outer race until it
becomes flat to gear carrier.
• Never reuse side bearing outer race.
4.
Place the differential case assembly into gear carrier.
5.
Install side bearing adjusting shim before disassembling or shim
which thickness is the same as the one before disassembling.
6.
Install side retainer assembly to gear carrier.
CAUTION:
Never install O-ring.
7.
Install side retainer mounting bolts to the specified torque. Refer
to "COMPONENTS (VQ35DE MODELS)", "COMPONENTS
(VK45DE MODELS)".
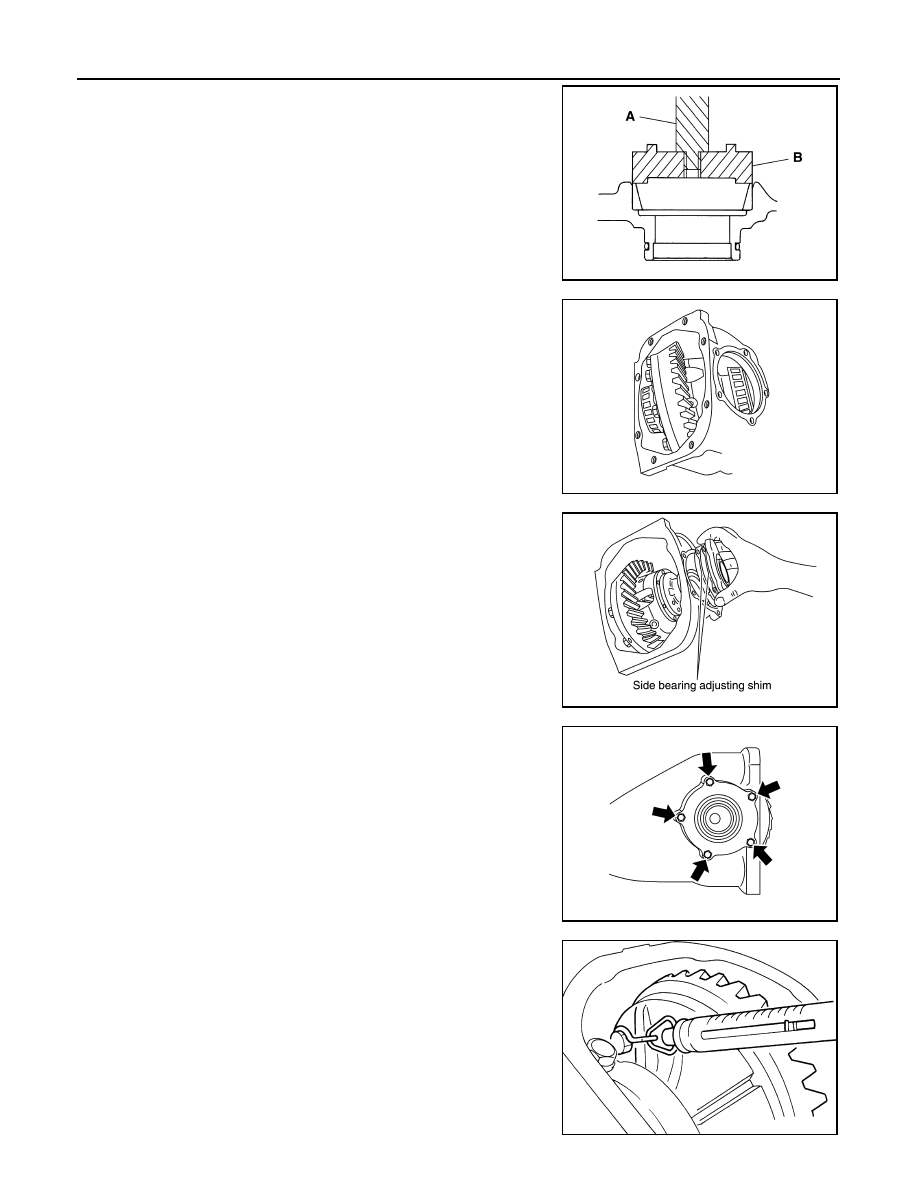
8.
Measure the turning torque of the gear carrier at the drive gear
mounting bolts with a spring gauge.
Tool number
A: ST30611000 (J-25742-1)
B: KV31103000 (J-38982)
PDIA0812J
PDIA0671E
PDIA0678E
PDIA0669E
Tool number
:
—
(J-8129)
Specification:
34.2 - 39.2 N (3.5 - 4.0 kg, 7.7 - 8.8 lb) of pulling force at
the drive gear bolt
SPD194A