Content .. 1637 1638 1639 1640 ..
Infiniti FX35, FX50 (S51). Manual - part 1639
SE-76
< SYMPTOM DIAGNOSIS >
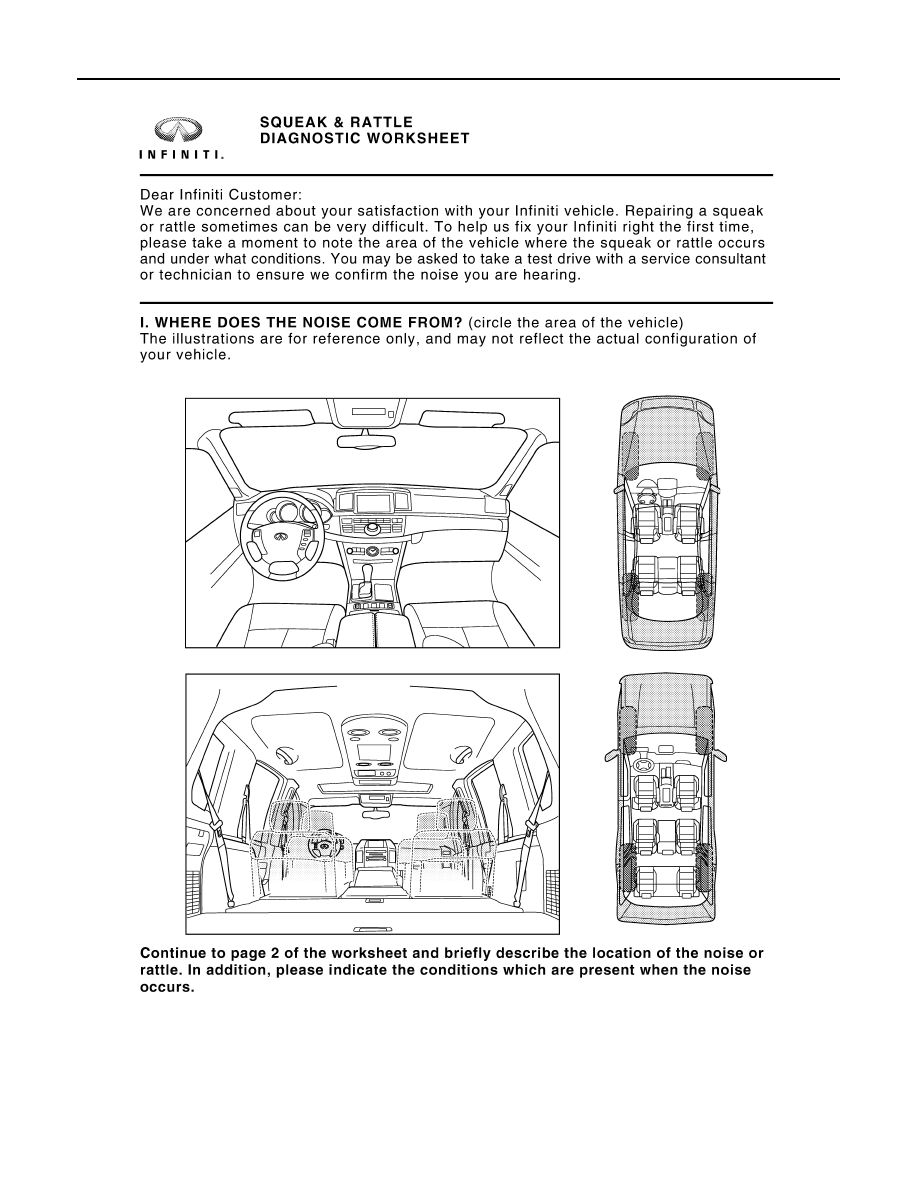
SQUEAK AND RATTLE TROUBLE DIAGNOSES
Diagnostic Worksheet
INFOID:0000000005236649
PIIB8741E
|
|
|
Content .. 1637 1638 1639 1640 ..
SE-76 < SYMPTOM DIAGNOSIS > SQUEAK AND RATTLE TROUBLE DIAGNOSES Diagnostic Worksheet INFOID:0000000005236649 PIIB8741E |