Content .. 1250 1251 1252 1253 ..
Infiniti FX35, FX50 (S51). Manual - part 1252
INT-10
< PREPARATION >
PREPARATION
PREPARATION
PREPARATION
Special Service Tools
INFOID:0000000005240789
The actual shapes of Kent-Moore tools may differ from those of special service tools illustrated here.
Commercial Service Tools
INFOID:0000000005240790
Tool number
(Kent-Moore No.)
Tool name
Description
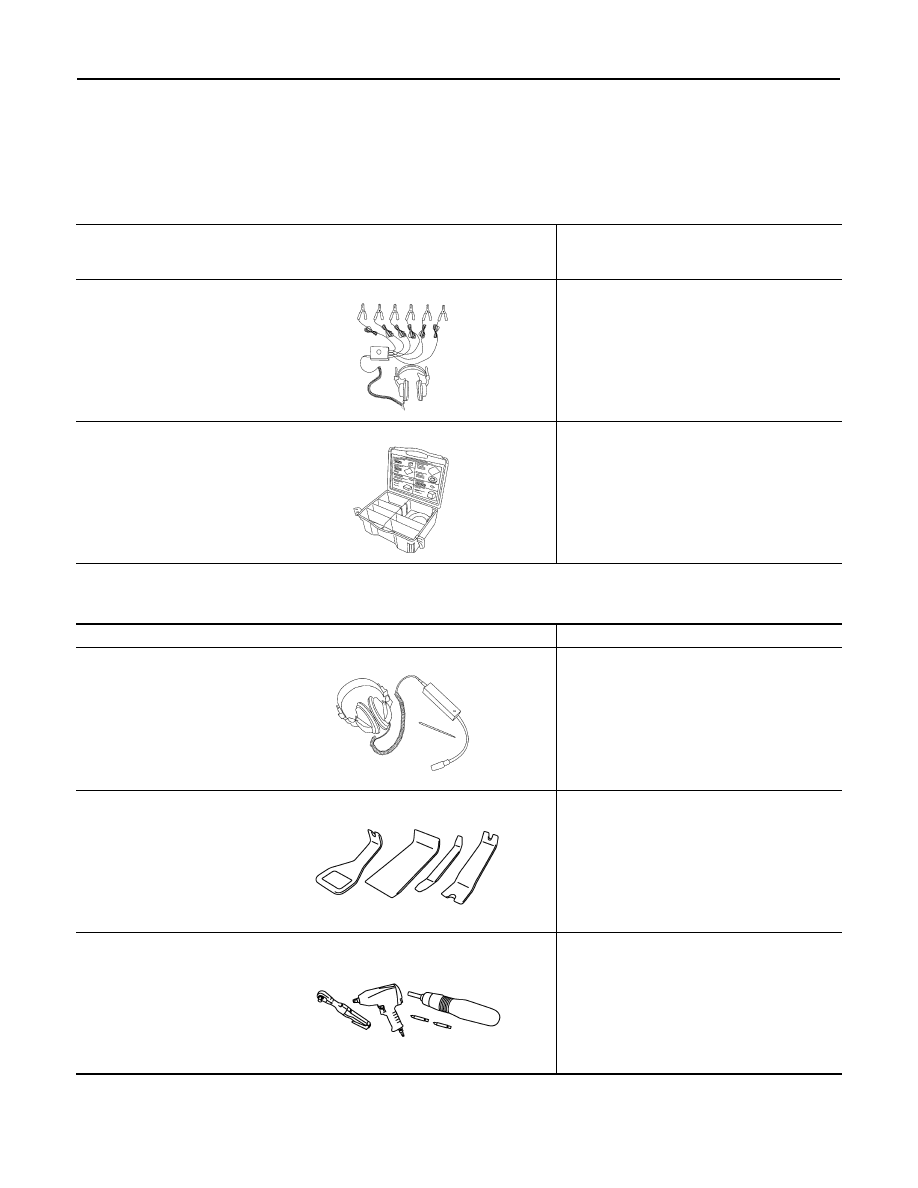
(J-39570)
Chassis ear
Locates the noise
(J-43980)
NISSAN Squeak and Rattle
Kit
Repairs the cause of noise
SIIA0993E
SIIA0994E
Tool name
Description
Engine ear
Locates the noise
Remover tool
Removes clips, pawls and metal clips
Power tool
SIIA0995E
PIIB7923J
PIIB1407E