Content .. 1246 1247 1248 1249 ..
Infiniti FX35, FX50 (S51). Manual - part 1248
INL-192
< REMOVAL AND INSTALLATION >
STEP LAMP
STEP LAMP
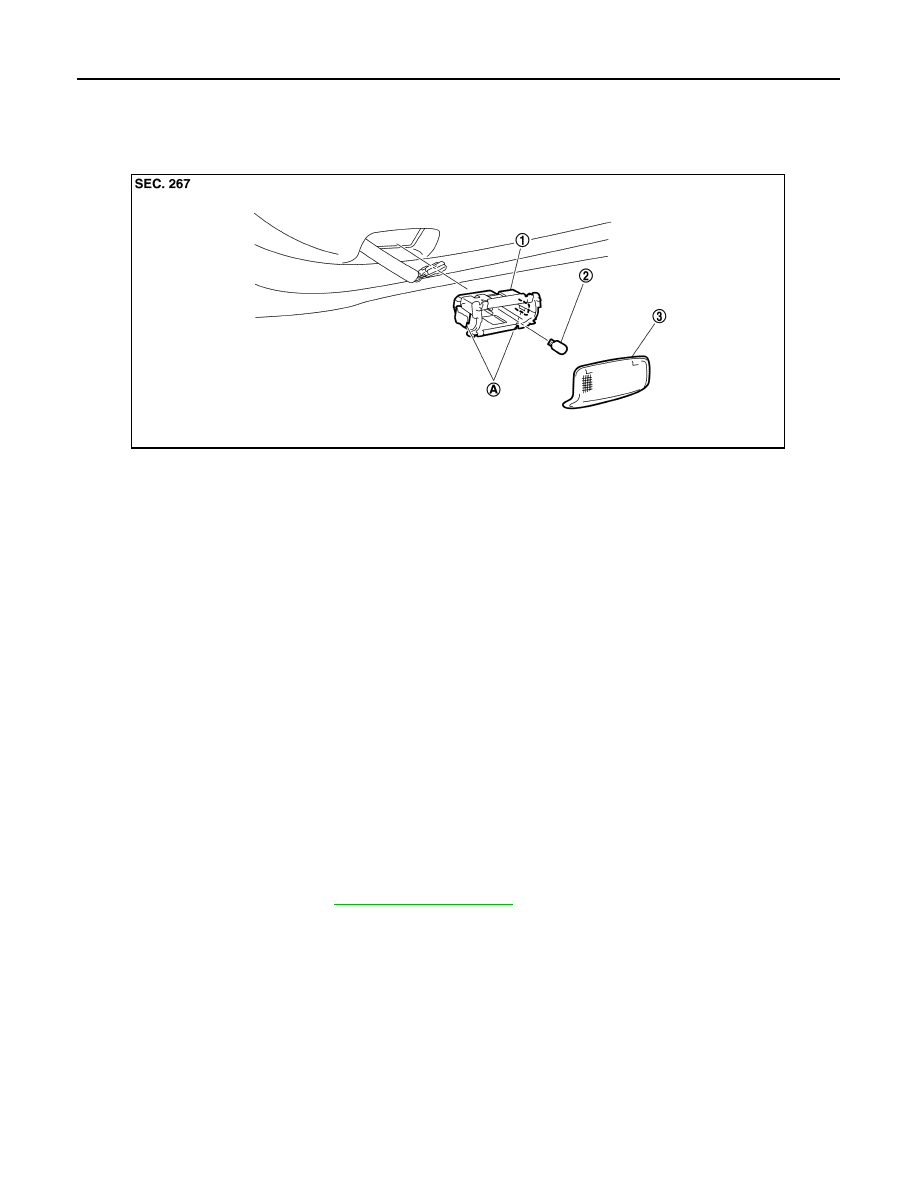
Exploded View
INFOID:0000000005245646
Removal and Installation
INFOID:0000000005245647
CAUTION:
Disconnect the battery negative terminal or remove the fuse.
REMOVAL
1.
Insert any appropriate tool into the gap between the step lamp and the door trim. Remove the step lamp.
2.
Disconnect the step lamp connector.
INSTALLATION
Install in the reverse order of removal.
Replacement
INFOID:0000000005245648
CAUTION:
• Disconnect the battery negative terminal or remove the fuse.
• Never touch the glass of bulb directly by hand. Keep grease and other oily matters away from it.
Never touch bulb by hand while it is lit or right after it turns OFF.
• Never leave bulb out of lamp reflector for a long time because dust, moisture, smoke, etc. may affect
the performance of lamp. When replacing bulb, always replace it with new one.
STEP LAMP BULB
1.
Remove the step lamp. Refer to
.
2.
Remove the lens.
3.
Remove the bulb.
1.
Step lamp case
2.
Bulb
3.
Lens
A
Metal clip
JPLIA1216ZZ