Infiniti EX35. Manual - part 973
REAR DOOR FINISHER
INT-17
< ON-VEHICLE REPAIR >
C
D
E
F
G
H
I
K
L
M
A
B
INT
N
O
P
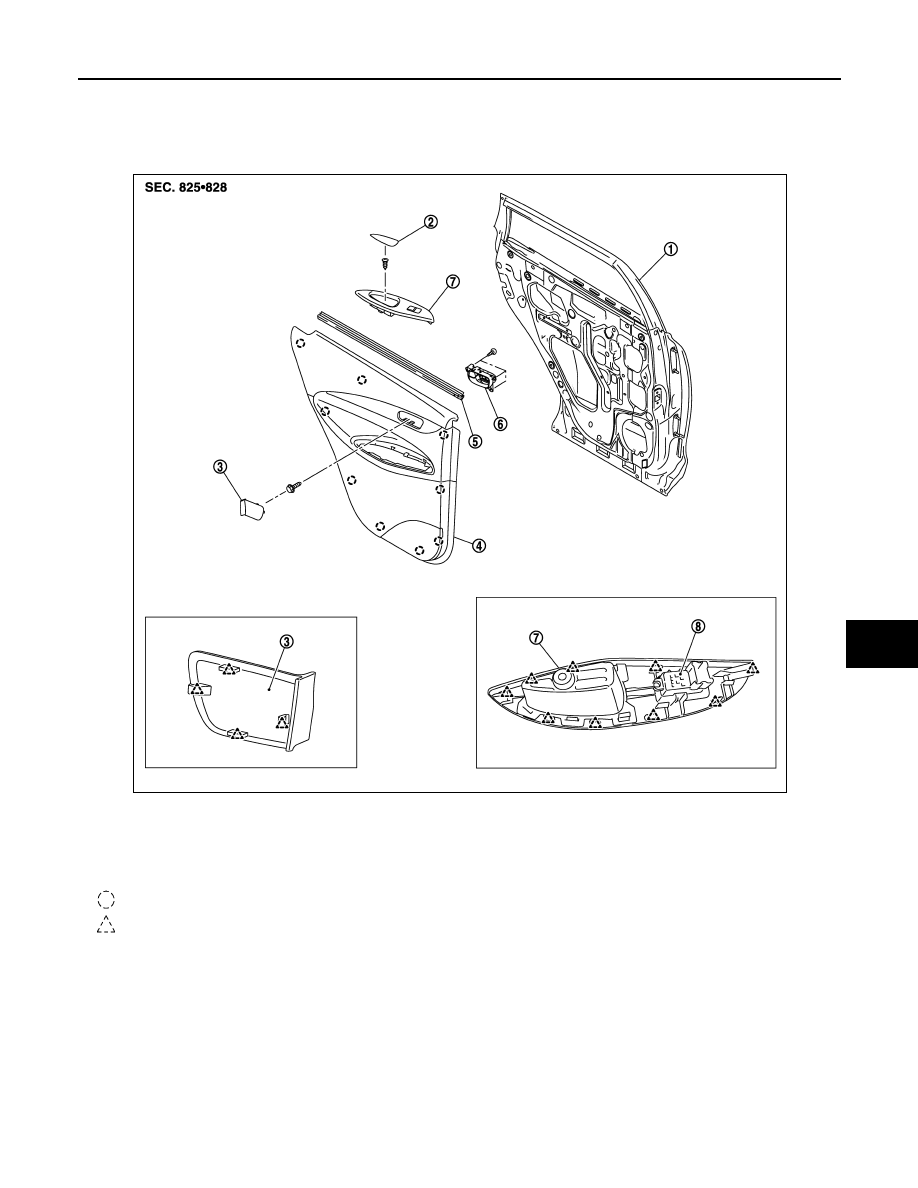
REAR DOOR FINISHER
Exploded View
INFOID:0000000003140122
Removal and Installation
INFOID:0000000003591418
CAUTION:
Wrap the tip of flat-bladed screwdriver with a cloth before remove.
REMOVAL
1.
Fully open door window.
1.
Rear door panel
2.
Pull handle cover
3.
Inside handle escutcheon
4.
Rear door finisher
5.
Rear door inside seal
6.
Rear door inside handle
7.
Rear door power window switch fin-
isher
8.
Rear power window switch
: Clip
: Pawl
JMJIA1519ZZ