Infiniti EX35. Manual - part 841
DOOR OUTSIDE MOLDING
EXT-43
< ON-VEHICLE REPAIR >
C
D
E
F
G
H
I
J
L
M
A
B
EXT
N
O
P
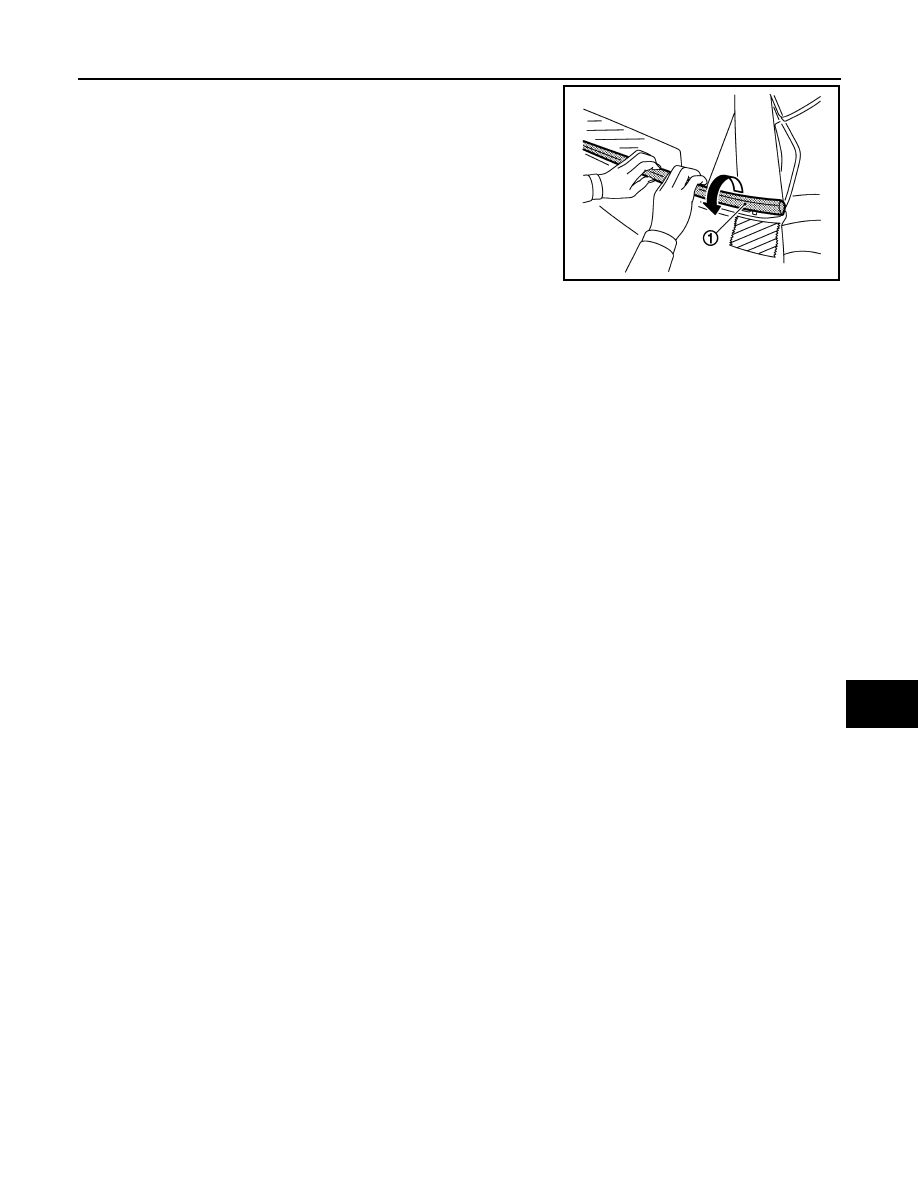
4.
Twist and pull up to upper side, and then remove rear door out-
side molding (1).
INSTALLATION
Install in the reverse order of removal.
JMKIA2026ZZ