Honda Ridgeline. Manual - part 380
01
02
SJC8A00J18526300000MBAT00
20-158
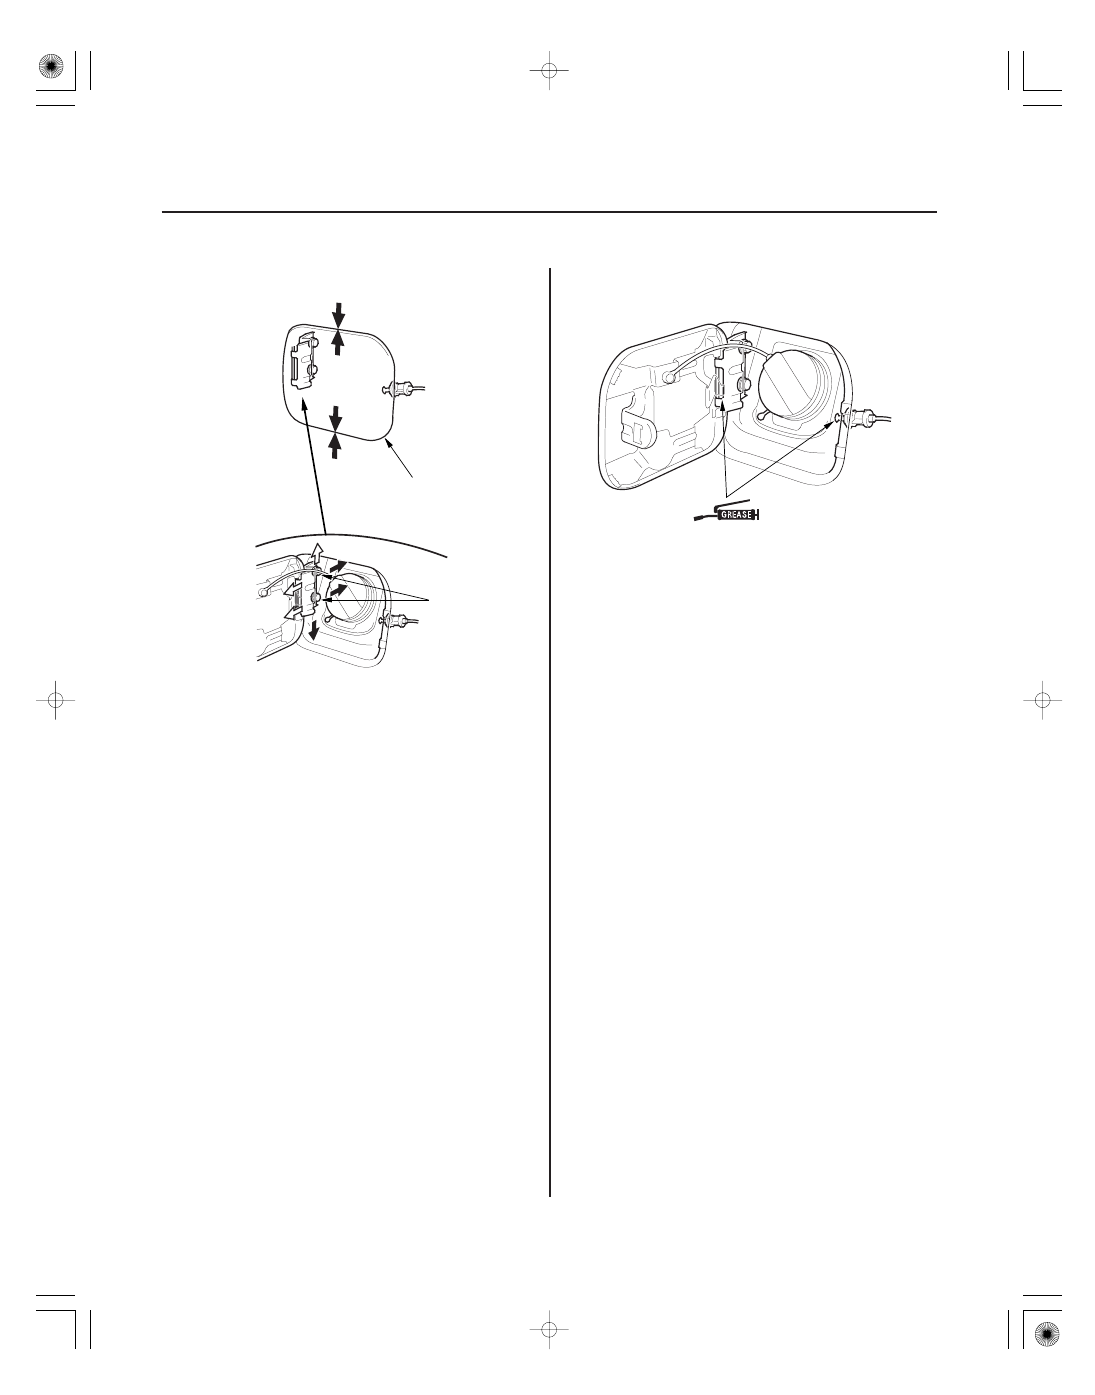
Fuel Fill Door
Fuel Fill Door Adjustment
A
6 x 1.0 mm
9.8 N·m
(1.0 kgf·m,
7.2 lbf·ft)
B
1. Loosen the hinge mounting bolts (A) slightly.
2. Adjust the fuel fill door (B) in or out until it’s flush
with the body, and up or down as necessary to
equalize the gaps.
3. Tighten the hinge mounting bolts.
4. Check that the fuel fill door opens properly and
locks securely.
5. Apply multipurpose grease to each location
indicated by the arrows.
6. Apply touch-up paint to the hinge mounting bolts
and around the hinges.