Honda Ridgeline. Manual - part 16
03
04
−
−
−
−
YES
NO
YES
NO
4-21
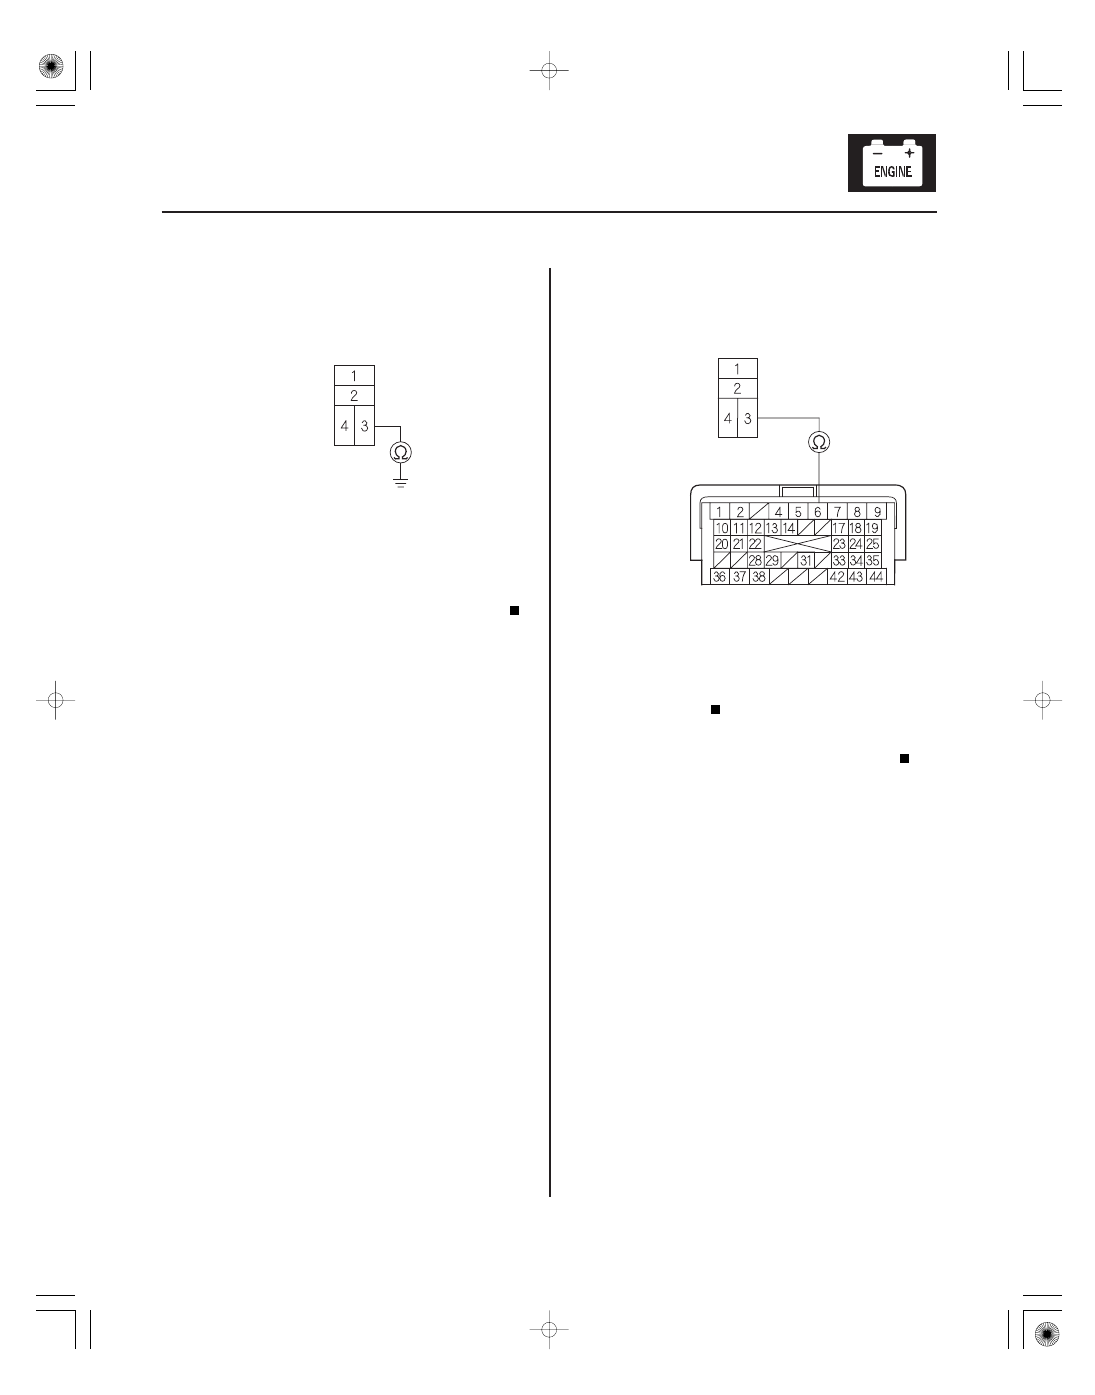
IGNITION COIL RELAY 4P SOCKET
IGNITION COIL RELAY 4P SOCKET
MRLY (RED/YEL)
PCM CONNECTOR A (44P)
9. Check for continuity between ignition coil relay 4P
socket terminal No. 3 and body ground.
Repair short in the wire between ignition coil
relay 4P socket terminal No. 3 and the PCM (A6).
Go to step 10.
10. Check for continuity between ignition coil relay 4P
socket terminal No. 3 and PCM connector terminal
A6.
The system is OK at this time. Check for
loose or poor connections at the ignition coil relay
and the PCM (A6).
Repair open in the wire between ignition coil
relay 4P socket terminal No. 3 and the PCM (A6).
Terminal side of female terminals
Terminal side of
female terminals
Terminal side of
female terminals
Is ther e continuity?
Is ther e continuity?