Honda Odyssey 2004. Manual - part 374
01
S0X4A00J18573900000MBAT00
20-138
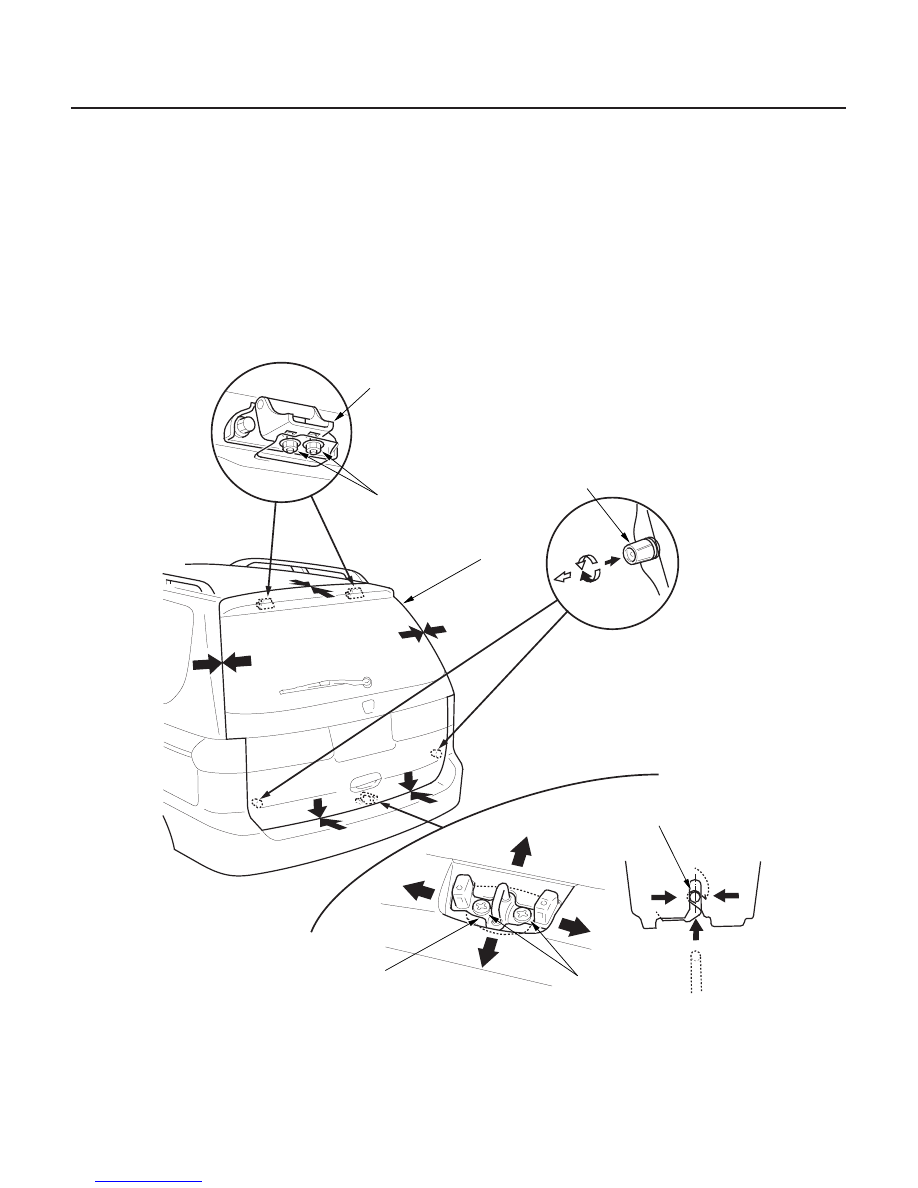
Tailgate
Adjustment
A
C
B
D
D
8 x 1.25 mm
18 N·m
(1.8 kgf·m, 13 lbf·ft)
8 x 1.25 mm
22 N·m
(2.2 kgf·m,
16 lbf·ft)
1. Remove the support strut from each side (see page 20-139).
2. Slightly loosen each bolt and nut.
3. Adjust the tailgate alignment in the following sequence:
• Pull down the rear portion of the headliner (see page 20-62). Take care not to bend the headliner excessively.
Adjust the tailgate hinges (A) right and left, as well as forward and rearward, using the elongated holes.
• Turn the tailgate edge cushions (B), in or out as necessary, to make the tailgate (C), fit flush with the body at the
side edges.
• Adjust the fit between the tailgate and tailgate opening by moving the striker (D).
4. Tighten each bolt and nut securely.
03/07/29 10:03:36 61S0X050_200_0140