Porshe 911 (997). Manual - part 479


  Index      Hummer     Porshe 911 997 series - service repair manual 2004-2008 year


Search            


Content   ..  477  478  479  480   ..


Porshe 911 (997). Manual - part 479


- Removing motor for sliding roof
- Installing motor for sliding roof
- Information

Removing motor for sliding roof

Removing cover for motor for sliding roof

1. Switch off ignition and remove ignition key.

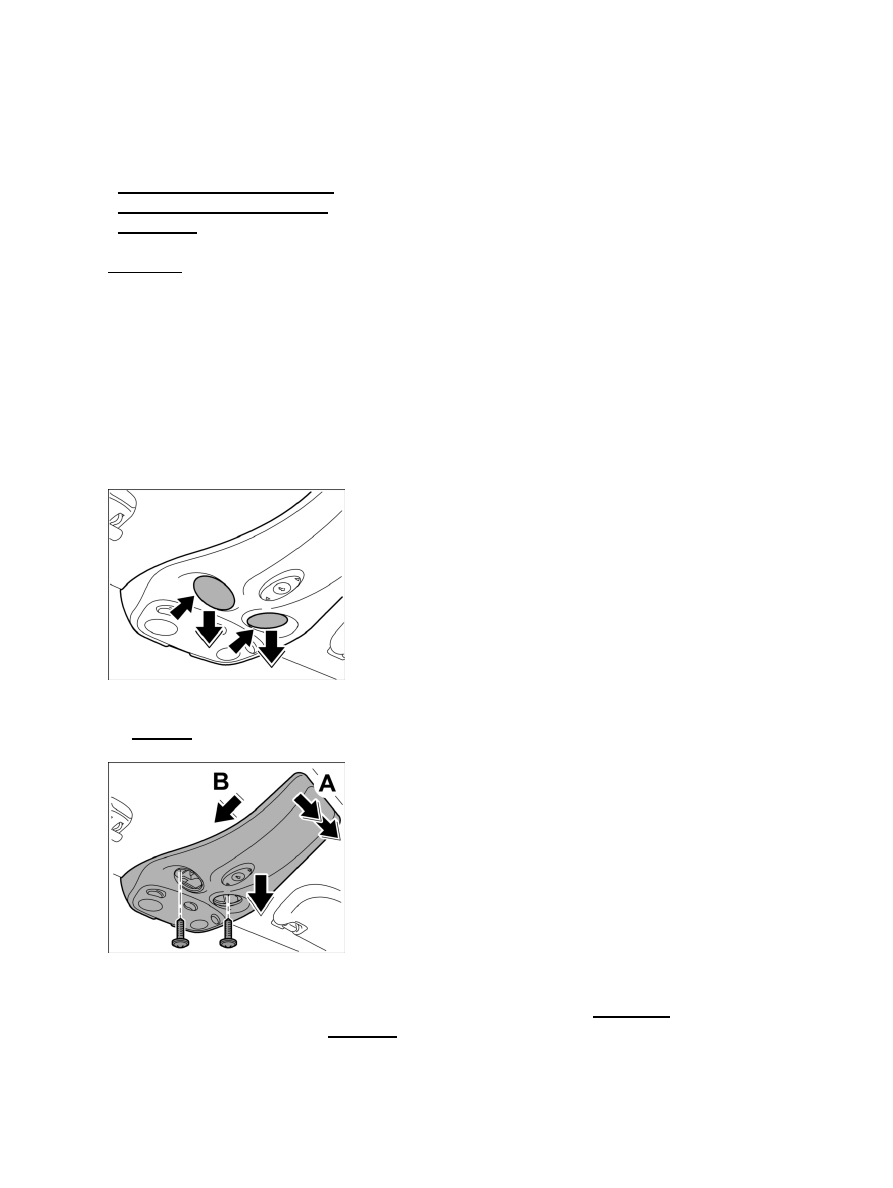
Unclipping cover for fastening screws

2. Using a small screwdriver, carefully unclip and remove the cover for the fastening screws at the openings

-arrows-

 provided.

Unclipping cover for motor for sliding roof

3. Unscrew the two fastening screws.

4. Unclip cover for motor for sliding roof at the rear to the left and right -arrows A- and push it out to the

front towards the windscreen -arrow B- .

2073

Removing connectors at sliding roof switch and interior light

5. Release connecters at sliding roof switch and at the interior light -arrows a- and remove them. Remove

cover for motor for sliding roof.

Removing motor for sunroof

Installation Location:

Overview of motor for sunroof

Unscrewing fastening screws of motor for sunroof

1. Unscrew both fastening screws -1- and remove motor for sunroof downward from the splines of the

Diagnostic system: reading out fault memory and activating systems

Removing cover for motor for sliding roof

2074

sunroof frame -arrow A- .

2. Push motor for sunroof to the left under the headliner -arrow

B-

 .

Pulling off plug on motor for sunroof

3. Pull motor for sunroof down and out -arrow

B-

 .

4. Release connector on motor for sunroof -arrows a- and pull it off -arrow C- .

Removing spacer from motor for sunroof

5. Remove spacer from motor for sunroof.

6.

Installing motor for sliding roof

Installing motor for sunroof

Diagnostic system: reading out fault memory and activating systems

Removing motor for sunroof

2075

Positioning spacer on sunroof motor

1. Position spacer on sunroof motor. The elevations of the indentations -arrows- must point to the

sunroof motor.

Pushing connector onto motor for sunroof

2. Push connector onto motor for sunroof -arrow A- until it is felt to

engage.

3. Push motor for sunroof upwards to the left under the headliner -arrow

B-

 .

Tightening fastening screws of motor for sunroof

4. Pull motor for sunroof forward to the right under the headliner -arrow

A-

 .

5. Push sunroof motor upwards onto the splines of the sunroof frame -arrow B- and secure using the

two fastening screws -1- . → Tightening torque: 6 (4.5 ftlb.) Nm

Diagnostic system: reading out fault memory and activating systems

Installing motor for sunroof

2076


Content   ..  477  478  479  480   ..