Porshe 911 (997). Manual - part 114
20 10 19 Removing and installing fuel tank - as of MY
2005
- Preliminary work
- Removing fuel tank
- Installing fuel tank
- Subsequent work
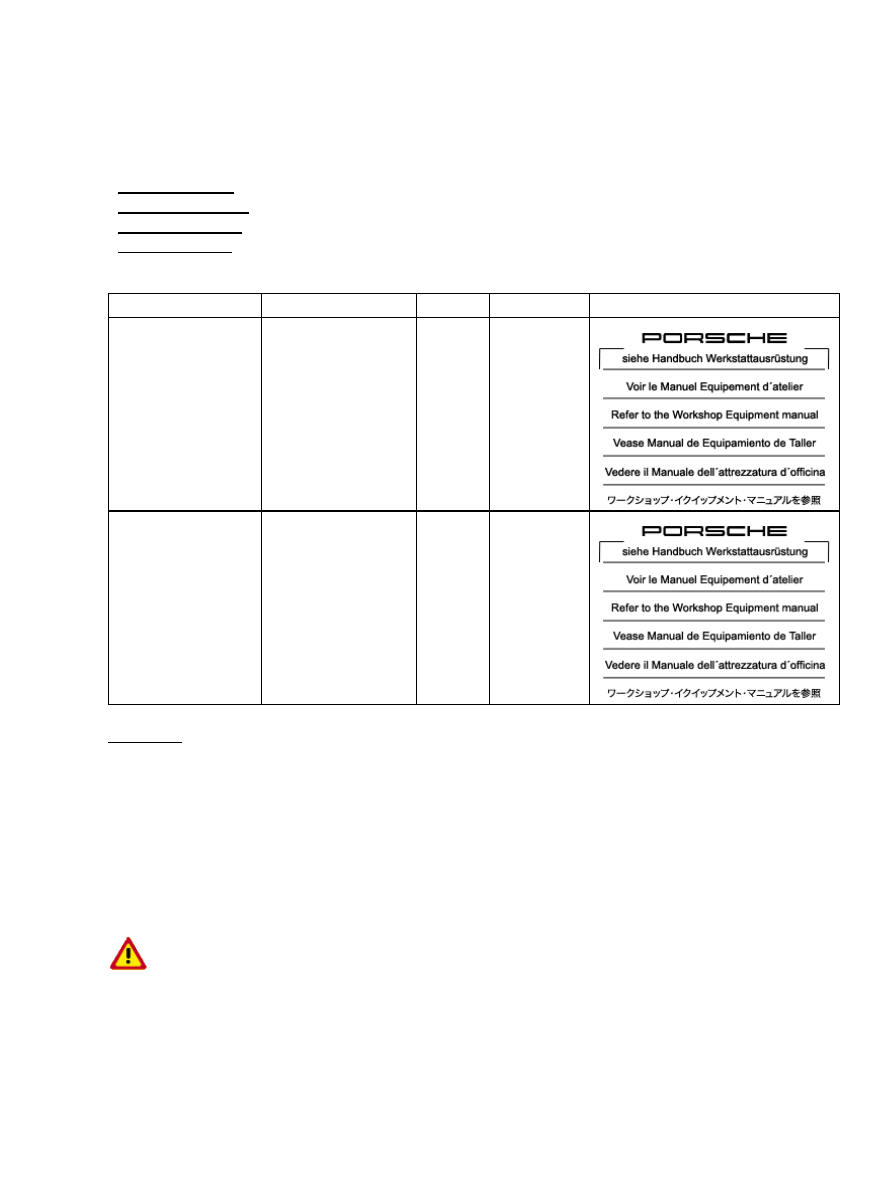
Tools
Designation
Type
Number Explanation
socket wrench insert
special tool
P 300
fuel transfer unit
workshop equipment
WE1262
Preliminary work
Preliminary work - Carrera 4
DANGER
Risk of fire from escaping fuel.
Danger of fatal injury and damage to property.
•
→ Observe basic safety instruction when working on the fuel system, → 201000 Precautionary measures
when working on fuel system.
613