Content .. 1102 1103 1104 1105 ..
Porshe 911 (997). Manual - part 1104
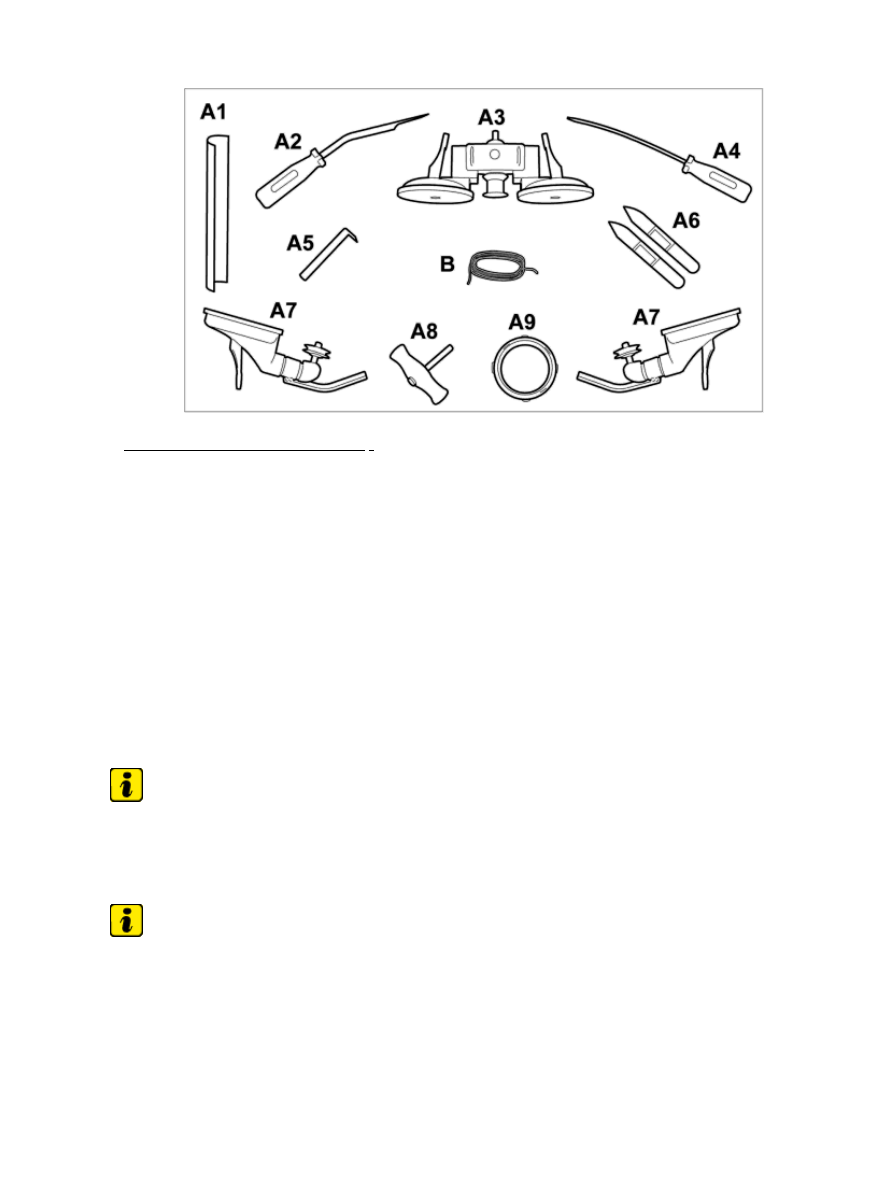
Glass separating tool
A Glass separating tool VAG 1474 B
B
Cutting thread
A1
Guide rail
A2
Cutting tool (wire holder)
A3
Spooling device
A4
Awl
A5
Guide rail
A6
Filler
A7
Steering roller with arm bracket
A8
Handle
A9
Square cutting wire
1) Contains component set A1-A9 and protective film for dashboard
Applying protective film to the dashboard
Note
In order to guarantee an optimum fastening intake grip, it is advisable to clean the inside of the glass
before removal.
•
Note
The film protects the damping mat against damage when removing the glass.
•
1. Cleaning glass on the
inside
Diagnostic system: reading out fault memory and activating systems
Removing glass with cutting device - wire separator
4573