Engine International HS 2.8L. Manual - part 15
International HS 2.8L
Pistons and Connecting Rods
6 9
8120081 - 05/02 - Service Manual
INTERNATIONAL ENGINES
PISTONS AND CONNECTING
RODS
Removal
1.
Remove cylinder head.
2.
Remove oil pan, suction and lubricant oil flux
pipes.
3.
Position the block in the horizontal position.
4.
Before removing piston, remove carbon
deposits accumulated on liner top.
Horizontally position cylinders and cylinder
piston to be cleaned at BDC. Fill with a cloth
the space above of the top of the piston.
Remove carbon with a brush or sandpaper
and clean the area with a cloth.
4.
Remove pistons.
Disassembly
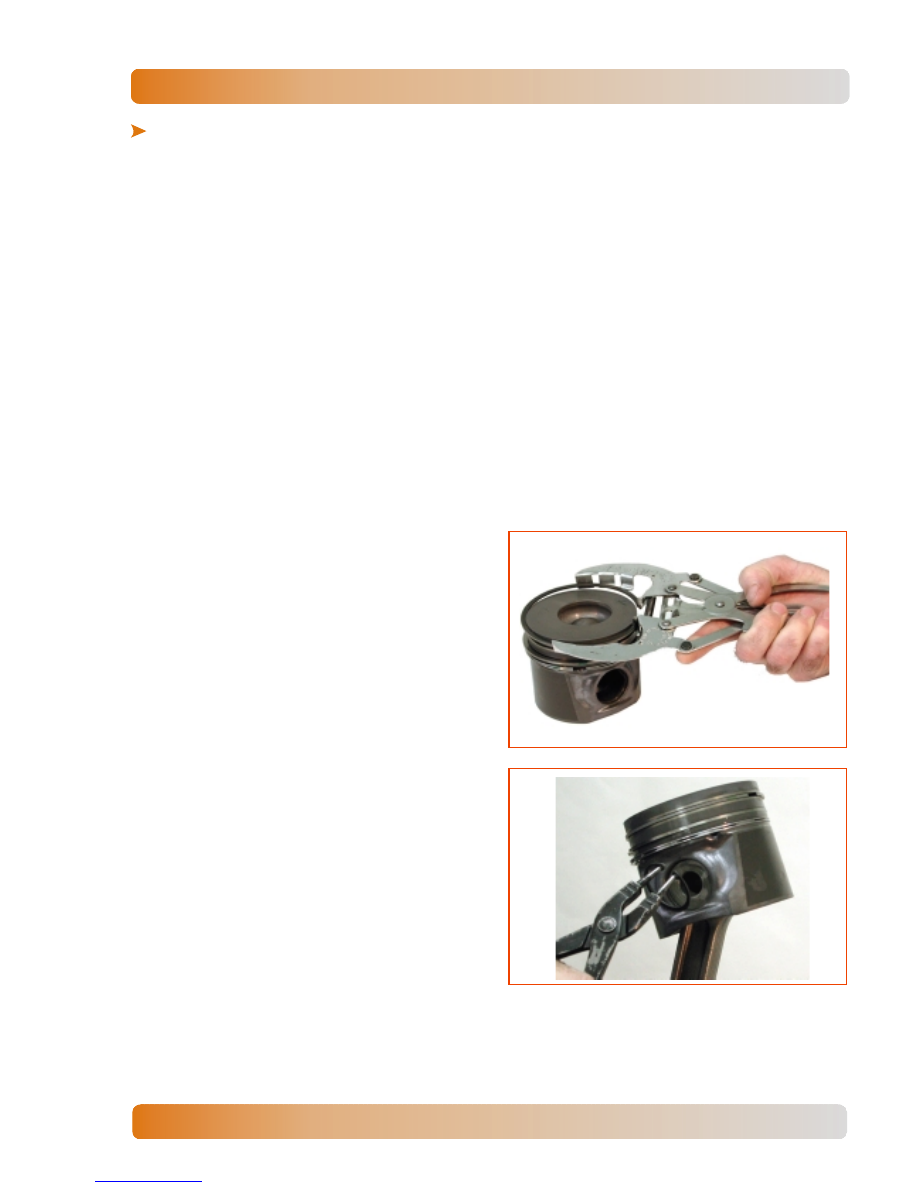
1.
Remove the piston rings.
2.
Remove snap rings and manually remove
piston pin. If it is difficult to remove pin, heat
the piston in water or oil up to 80 °C (176 °F).
3.
Remove connecting rod bushing.